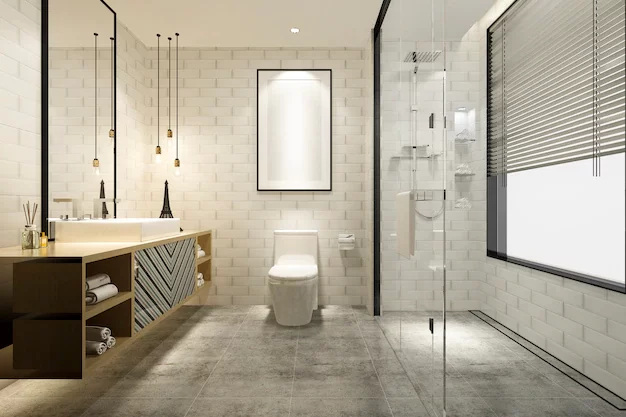
How To Deep Clean Your Bathroom
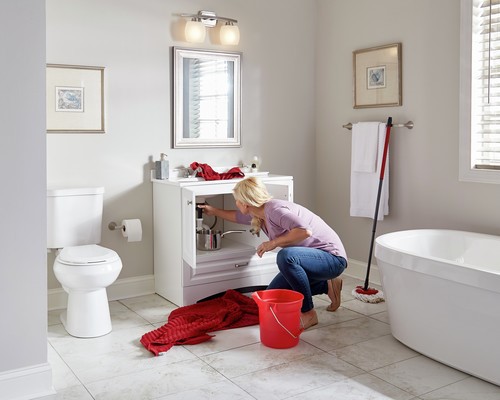
You could get professionals to deep clean your bathroom, or you can choose to do it yourself. If you’re about to take on this task, read on for tips for deep cleaning your bathroom.
What do you need to deep clean your bathroom?
For those of you who are new to the concept of deep cleaning, it includes the regular cleaning you do on a weekly or daily basis, as well as reaching the deep, disgusting parts of your bathroom that aren’t normally covered or thought of.
Things you need
- All-purpose cleaner (if you are looking to disinfect surfaces, make sure and use EPA-approved cleaners)
- Glass cleaner
- Baking soda and vinegar
- Tile and grout cleaner
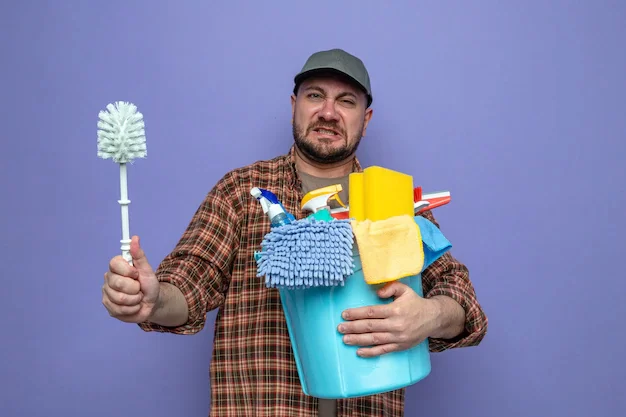
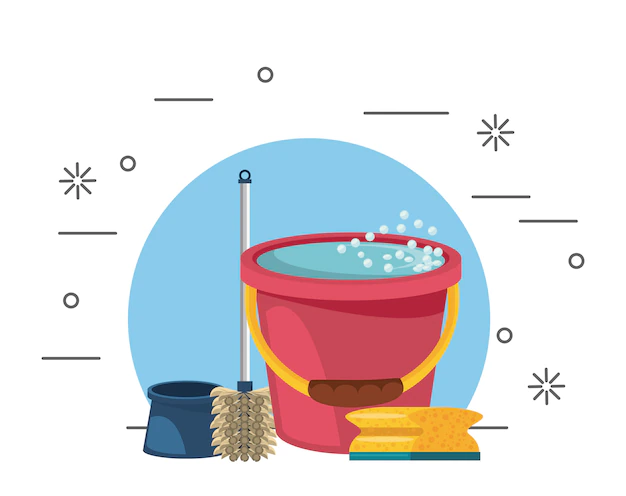
- Double-sided bucket
- Grout and toilet brush
- Microfiber towel and mop
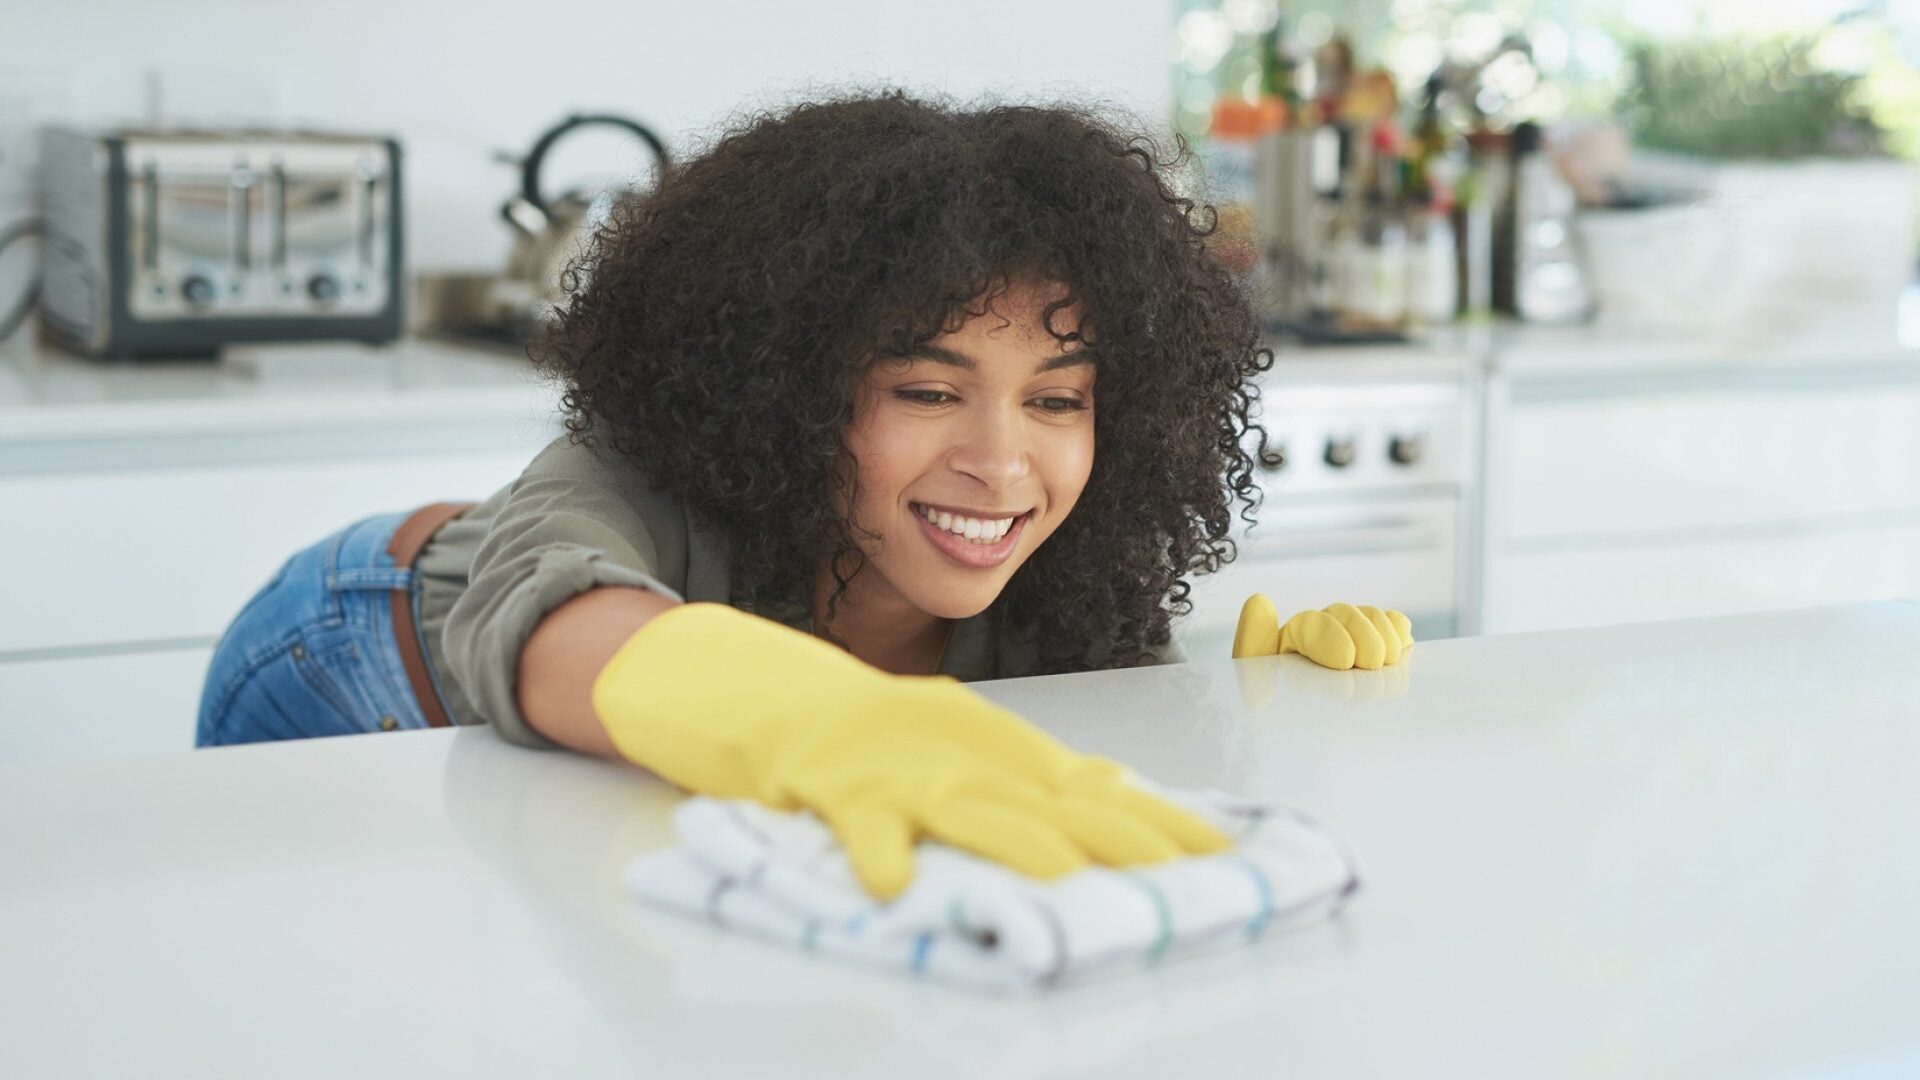
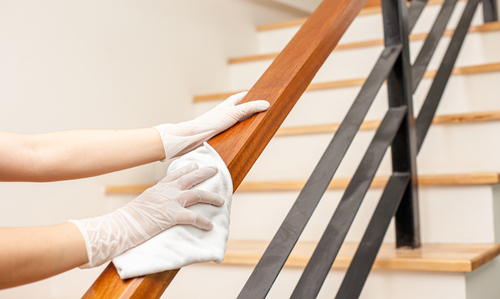
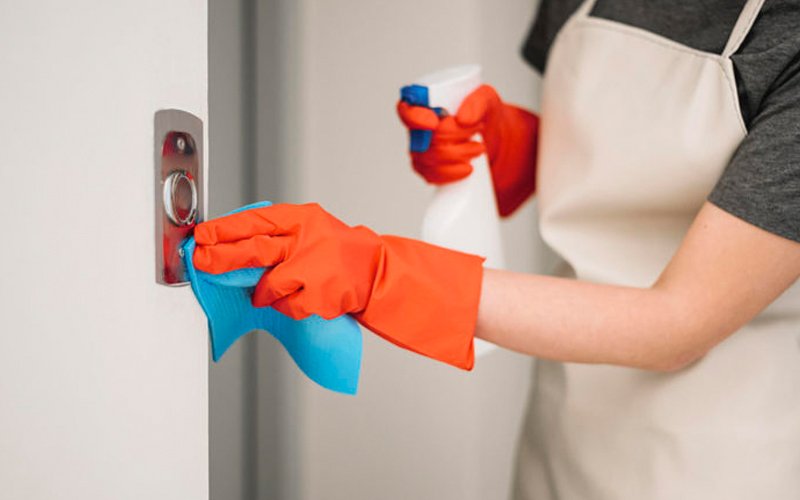
- Gloves
- Broom and extendible duster
- Vacuum
Here are some of the areas you will have to deep clean list:
- Shower, bathtub, grout
- Showerhead
- Shower doors and handles
- Bathroom sink and counters
- Inside and outside the toilet
- Mirrors
- Light fixtures, switches, and vents
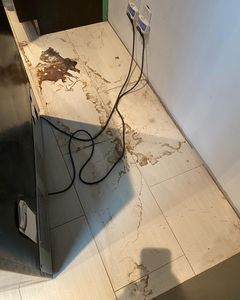
- Floors
- Bath mats and rugs
- Trash can
Steps to deep clean your bathroom
Shower and bath
- Pour enough vinegar in a plastic bag to submerge your showerhead with vinegar. Tie the bag, leaving it overnight to soak. The next morning, remove the bag and run the water to rinse.
- Wash all shower curtains with some old towels and hang to dry.
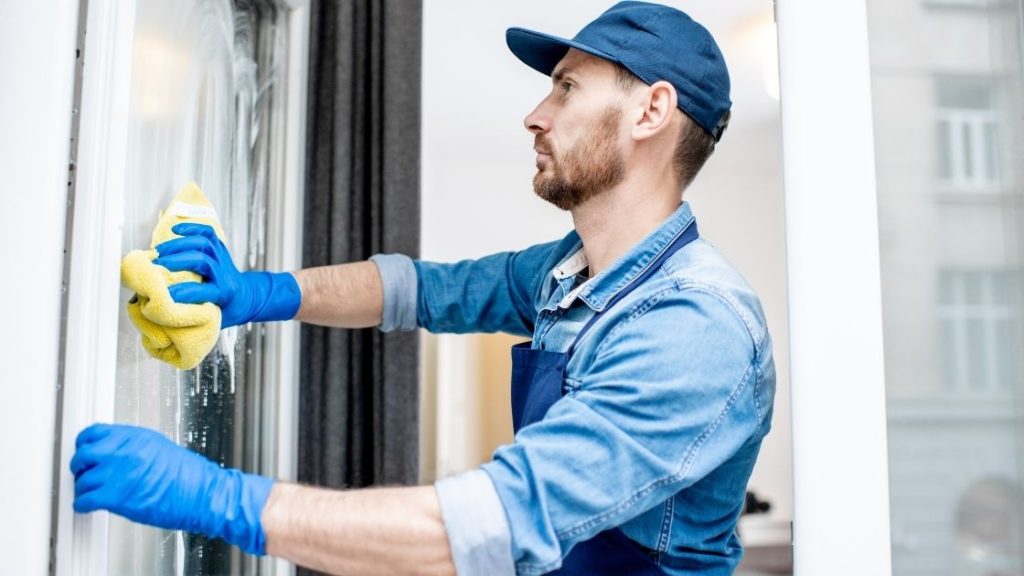
- For glass shower doors, mix 1 part distilled white vinegar with 3 parts distilled water in a bowl and microwave for 60 seconds. Pour the solution into a spray bottle and spray onto glass, letting it sit for 3 to 5 minutes. Then, use a microfiber cloth to wipe dry from top to bottom.
- For grout, you can use a special tile and mildew spray. Alternatively, mix ½ cup baking soda, ¼ cup hydrogen peroxide, 1 teaspoon dish soap. Spoon the mix onto the grout and let sit for 5 to 10 minutes. Scrub hard with a grout brush.
- For a bathtub, first pour hot water from a bucket all over the tub. Sprinkle baking soda on all surfaces. Fill your bucket with a half gallon of hot water and two tablespoons of dish soap. Then use a stiff brush or sponge to dip into the bucket and scrub the tub. If your tub is really dirty, use a store bought tile cleaner.
Tiles, walls, and ceilings
Spray all surfaces like countertops, tile, walls, and the ceiling with an all-purpose cleaner. Run the shower for five minutes to build up steam. Shut the door and let the steam and cleaner mix for 20 minutes. Then wipe down all surfaces with a clean cloth. For walls and ceilings, you can use a microfiber mop to reach the high spaces.
Bathroom sink
First, pour vinegar or baking soda down the drain and rinse with hot water. Use disinfecting wipes for the handles and faucets in order to prevent the transfer of bacteria from other parts of the bathroom (like the toilet). Use floss to clean the base, where the faucet and taps are flush with the sink.
Toilets
Coat the entire toilet bowl with a toilet cleaner — preferably one with bleach. Scrub the bowl hard with a toilet brush and let it sit for 5 to 10 minutes. While that is sitting, wipe down the outside of your toilet with a disinfectant wipe, as well as the outer lid, and then the inner lid. Then, use a bathroom specific disinfectant spray and leave it on for as long as the cleaner recommends (usually 10 minutes). Don’t forget to spray the flush handle. Then wipe everything down with clean clothes.