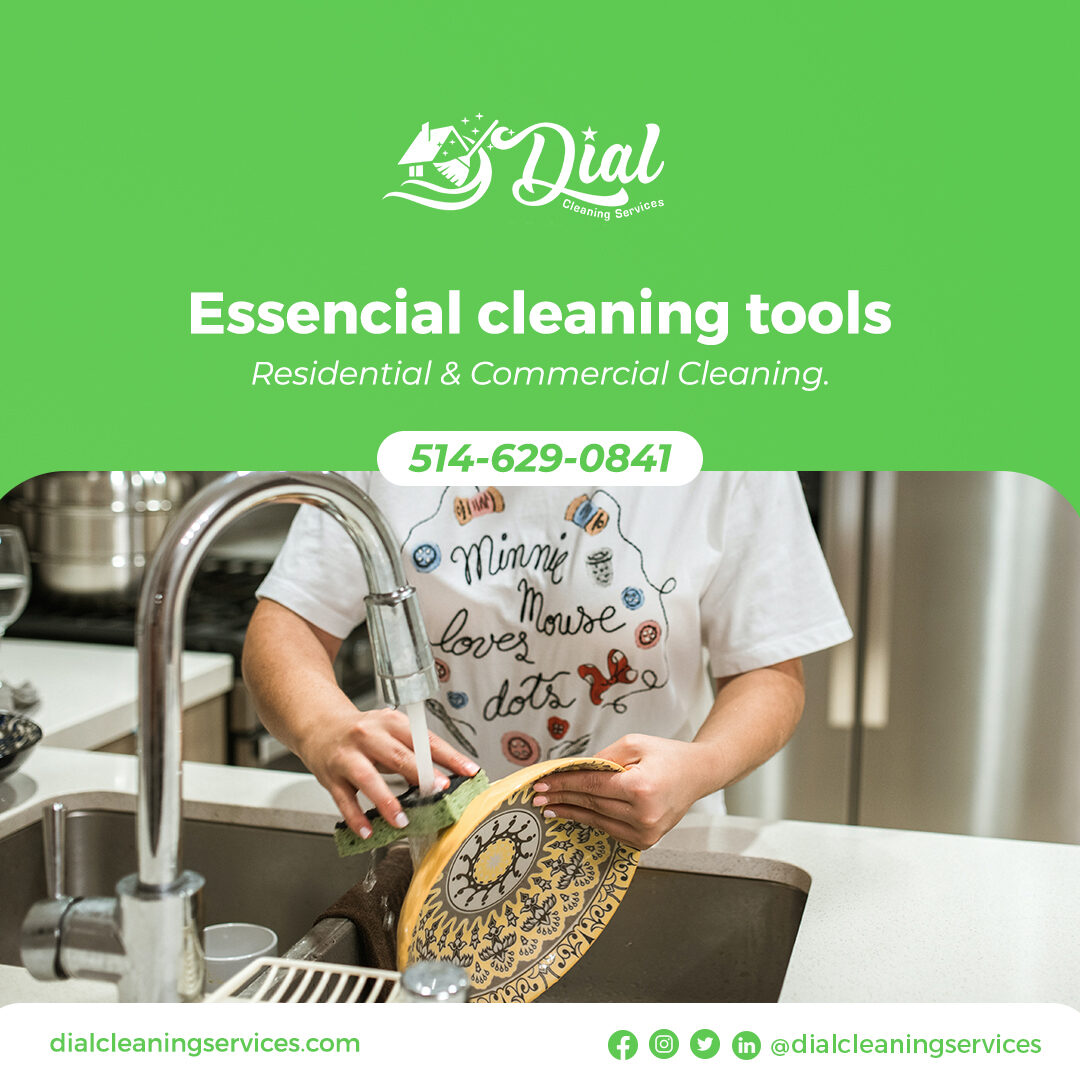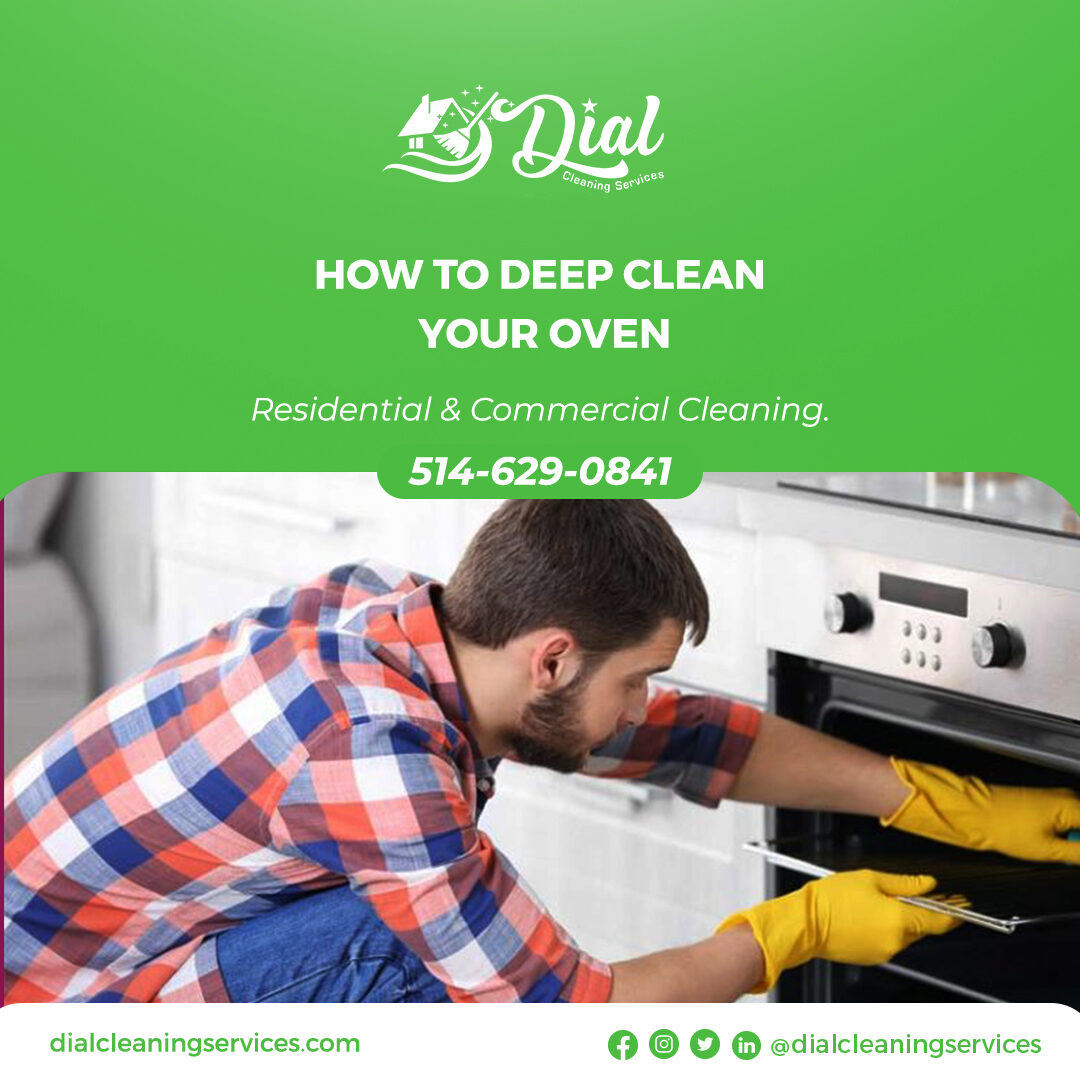
HOW TO DEEP OVEN CLEAN
At the heart of each excellent house is a kitchen that welcomes family and friends and serves as a gathering place for wonderful meals and even better memories. The oven, of course, is at the center of that kitchen. The oven is where all of your favorite meals come to life right before your eyes, and it’s also where you wait eagerly to see if your cookies and cakes turned out properly. While your oven provides a lot for you and your family, it is necessary to give it some additional attention from time to time in order for it to stay operating at its best. Cleaning your oven is critical to the health and safety of everyone in your household.
DIY Oven Cleaning

To begin cleaning your oven, gather the following items: an old toothbrush, scourer, oven cleaner, sponges, and rubber gloves. When cleaning your kitchen and oven, strive to use caustic-free cleansers to avoid harmful or dangerous chemicals in your cleaners. Make sure your oven is turned off and cool before you begin. Wear your rubber gloves and cover any gas burner jets before beginning to remove any food, crumbs, or leftovers from the oven.
Next, remove all of the oven shelves and soak them in soapy water. If you have the time, you may soak them overnight.
While the shelves are soaking, spray and clean the oven’s corners with your oven cleaning and sponge. Allow the solution to sit for a few minutes to soften stubborn stains and oil. Before cleaning and drying the oven racks, use your scourer to ensure they are clean.
Make sure you get inside the oven’s corners, where most people overlook spots and residual stains. If required, use an old toothbrush to clean hard-to-reach places. Keep in mind not to get anything electrical wet! During this time, you may also clean your baking trays by soaking and washing them in a sink of hot water and liquid detergent.
The final step is to clean the glass door of your oven.
Again, a scourer can be used to remove stubborn food and oil. Wipe off completely, being careful not to leave any cleaning chemical residue behind.
Making Use of the Self-Cleaning Function
While cleaning your oven using your hands and getting into corners will provide a thorough clean, some people choose to use the self-cleaning option of their oven for comfort and ease. The intense heat of the oven is used in this approach to incinerate residual food particles and oil. Keep in mind that, even if your oven is labeled as self-cleaning, we recommend removing and wiping off as much grease and food as possible before beginning the self-cleaning option.
You will also need to clear up any ashes that remain after the cleaning. While this is a fantastic choice and handy for many, other people are concerned about the gases it may produce and the possible harm caused by such high heat. In general, you should not leave your house while your self-cleaning oven is running. It’s also vital to keep an eye on it and keep young children and pets away from the oven while it’s heating up.
Using Alternative Natural Cleaners
Unlike chemical cleaners (which contain lye and caustic chemicals), homemade or alternative cleaners are far safer to use in your oven, as well as in and around your kitchen and house. It is ideal if you avoid using chemical off-the-shelf cleansers as much as possible because they emit fumes that are damaging to our lungs and health. Use natural cleaning solutions that perform equally as well, such as baking soda, lemon juice, vinegar, and natural soaps, instead.
Keeping it Clean
To make cleaning your oven much easier, try to clean up a bit after each use and avoid allowing messes to accumulate for too long. When stubborn stains emerge, you can use baking soda overnight to remove them. Wipe off the glass screen of your oven after a heavy cooking session, and cover the bottom oven shelf with foil ahead of time to catch any food that falls. Consider using cooking bags to roast meat so that less fat and oil accumulates in your oven on a regular basis.
While it is easy to put off cleaning your oven, maybe this acts as a reminder to do so if you haven’t done so in a while.
Remember to leave your windows open when cleaning, regardless of whatever cleaner you use, to ensure that the space is adequately aired. If you utilize the self-cleaning function, ensure no dogs are around. If you are unclear which procedure to employ or would like to have someone else clean your oven, consider having it professionally cleaned.
It not only saves you time, but it also provides a complete cleaning that is both safe and efficient. Contact us at Dial Cleaning Services today for additional cleaning ideas and information on house and office cleaning.
Contact us today for professional help
Call Us: 514.629.0841
Address: Montreal, Quebec, Canada
Mail Us: info@dialcleaningservices.com