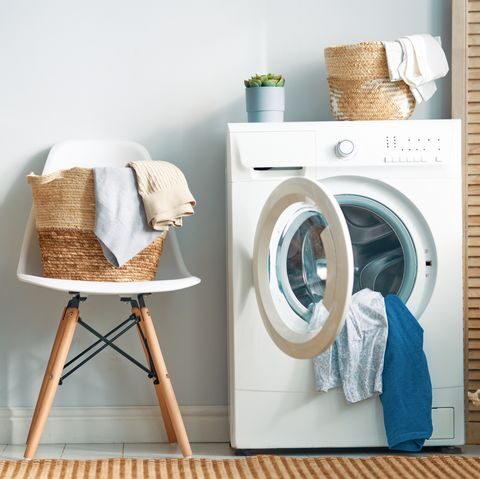
How to Deep Clean a Washing Machine
Whether you have a front-loader or top-loader, you’ll benefit from these cleaning tips.
With all the detergent, fabric softener, body soil and dirt that goes into your washer with each load, anything that’s not removed builds up over time and makes the perfect breeding ground for mold, mildew and odors.
It is of great necessity to clean your washing machine at least once every month and here is how to do it:
- Many newer models have a dedicated washer cleaning cycle that presets the time, agitation and water temperature, and all you need to do is simply add bleach. If yours doesn’t have this cycle, add 1/2 cup of liquid chlorine bleach to the dispenser or fill the dispenser to the max line and run a normal cycle with hot water or follow what the manual says. Clean according to package directions. While bleach alone will kill bacteria and mold, it may not dissolve other residues. These washing machine cleaners have ingredients to rid your machine of greasy build-ups and hard water minerals, too.
- Once the cleaning cycle is done, run another rinse and spin just to make sure any traces of bleach or particle remnants are completely washed away.
- If you have removable dispensers, pop them out, take them apart and rinse them well under hot water. Use a soft toothbrush to dislodge any stuck-on gunk. Wipe dry, reassemble and reinsert them into the machine. If they are still wet, leave them open to thoroughly air dry.
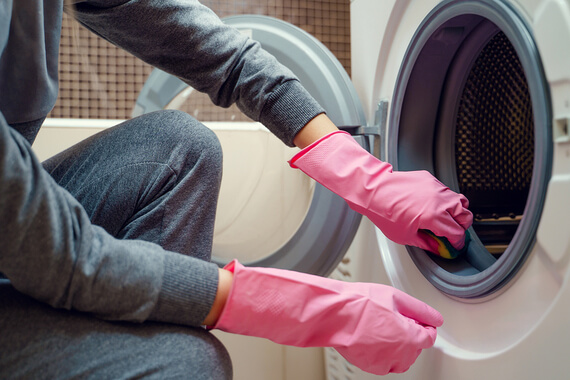
- If you have a front-loader, wipe the rubber gasket clean and dry thoroughly to prevent mold. Wipe the drum and door or lid, too, or leave it open to air dry.
How to Deodorize a Smelly Washing Machine
Along with cleaning monthly, make it a habit to leave the machine door open or lift the lid after each use. By doing this, air will circulate and dry out any remaining moisture that can contribute to musty smells. Just make sure that you keep children and pets away from the open machine, as a safety precaution and engage the child lock on your controls if you have one.
- Take out clean clothes promptly: As soon as a cycle ends, empty the machine to prevent a musty odor from developing in the washtub.
- Remove any debris or pet hair: If you have a pet that sheds in the house, you’re going to find pet hair in your washer after running several loads. Leave the door open until the pet hair and drum are thoroughly dry. Then, using your vacuum’s soft brush attachment, vacuum out the fur.
- Dry the gasket: If you have a front loading machine, regularly check the gasket to be sure no small items, like baby socks, are trapped in there and dry it often to keep mold away.
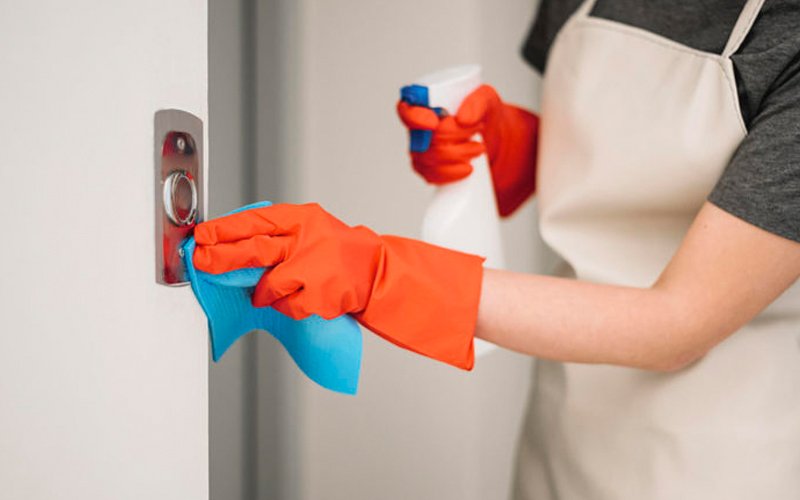
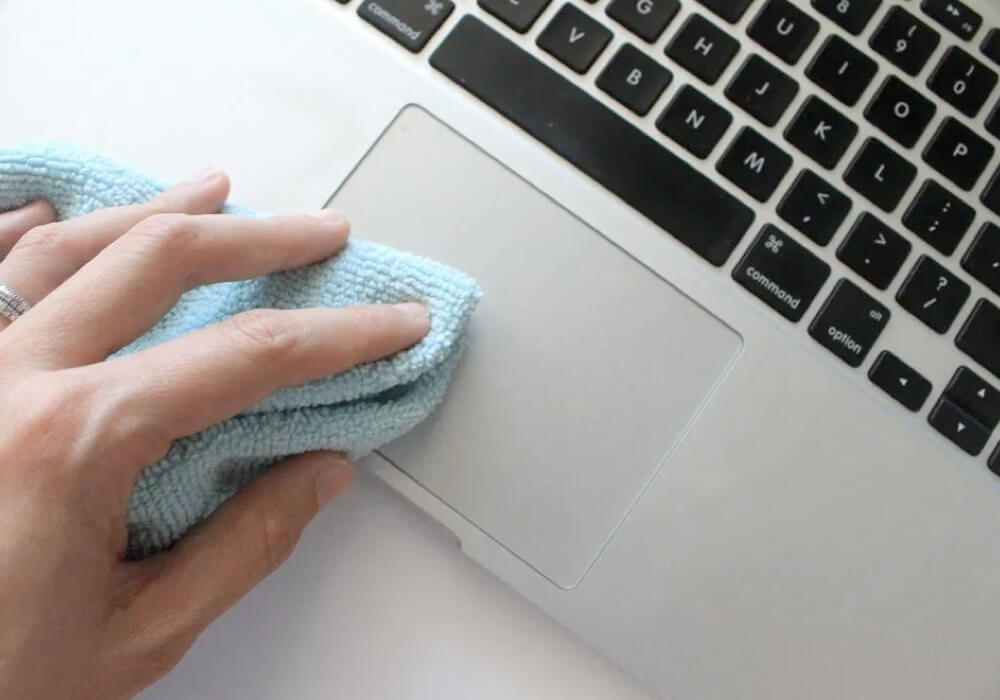
- Clean the controls: With a damp cloth, wipe the controls, door handle and any drips of detergent or softener you see on the front, sides and top of the machine to keep it looking its best.