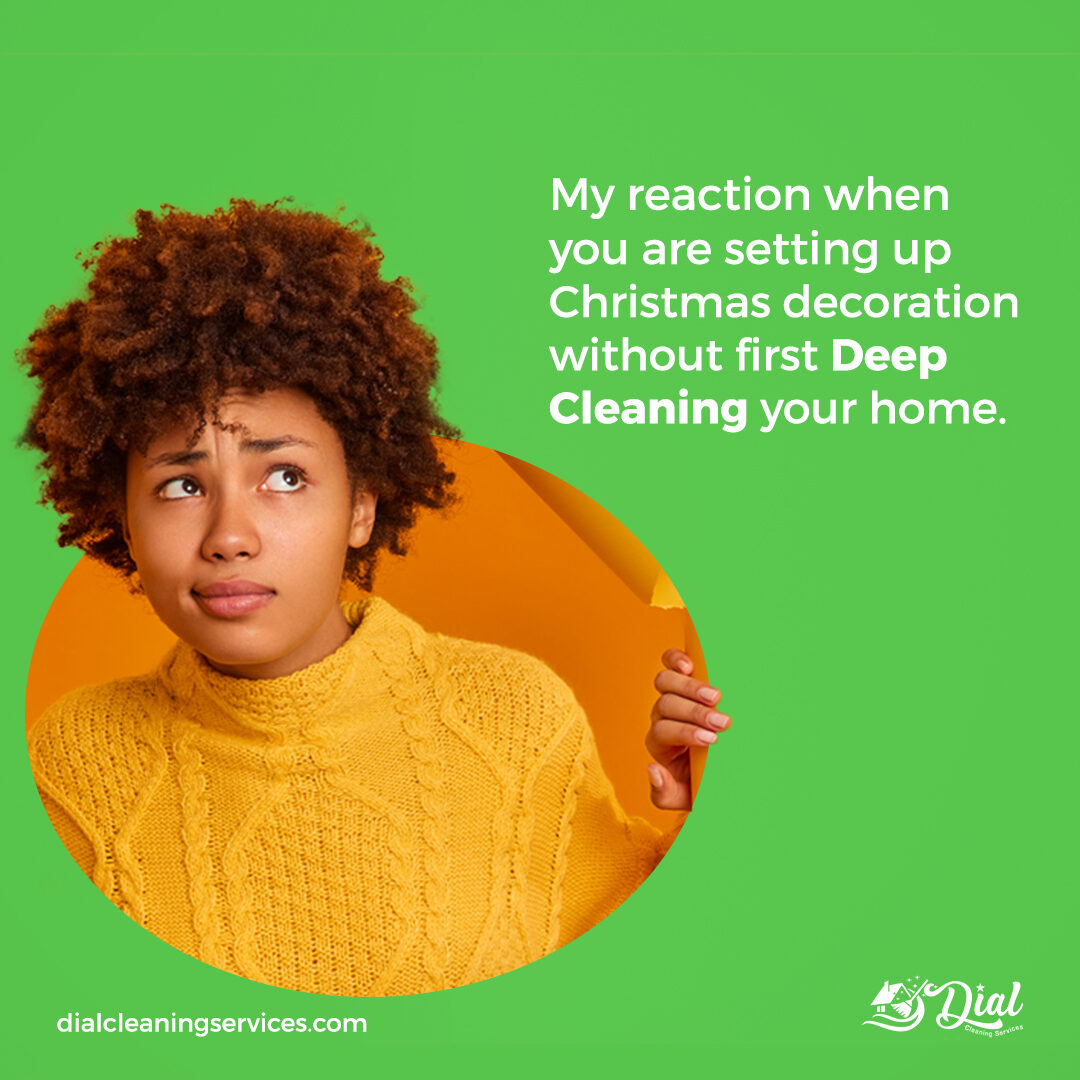
Benefit Of Deep Cleaning Your Home
Are you already in the Christmas mood, decorating and setting up the Christmas tree? Now pause and answer this question, Have you deep cleaned your house? Cleaning your house every other week might make you think that your home is already free from germs and dirt. But, what you should know is that regular home cleaning is different from a deep cleaning.
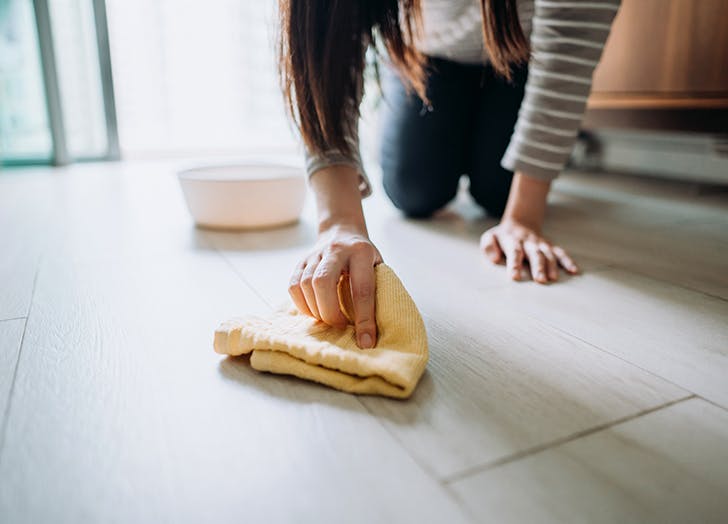
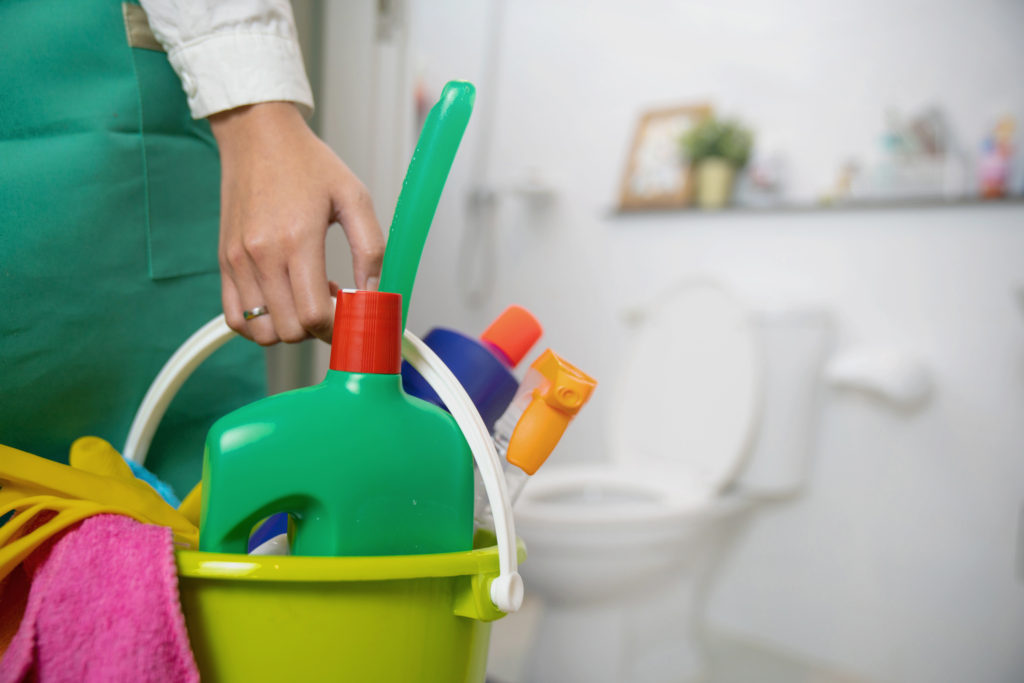
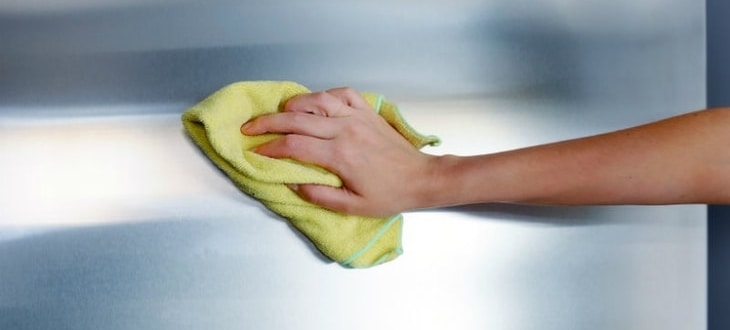
Regular cleaning involves mopping the floor and brushing the rug, wiping dust off furniture and cabinets, getting rid of the trash, and arranging all things in your home. While deep cleaning, on the other hand, gets rid of all the deep-seated dirt and grime, as well as all the germs and bacteria. It usually covers the areas that are not covered in regular cleaning. This is why it is always a good idea to consider deep cleaning your home regularly.
Professional deep cleaning services offered by the likes of dial cleaning services will not just improve the look of your house but will eliminate the bad, filthy elements out of your home.
These are some reasons why you should consider deep cleaning your home regularly:

1. Improves Indoor Air Quality
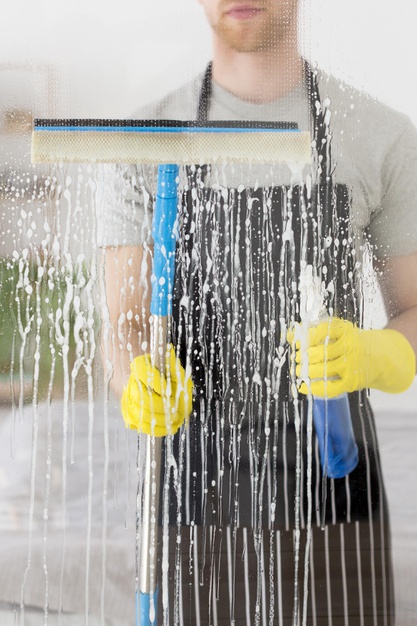
A deep cleaning helps improve the quality of air inside your house. Having poor indoor air quality is not good for you and your family’s health. If your home is filled with dust, it may cause sickness and diseases like eye irritation, asthma attacks, hay fever, sneezing, and coughing, etc. With deep cleaning, any dust particles can be removed completely, which can help improve your home’s indoor air quality remarkably.
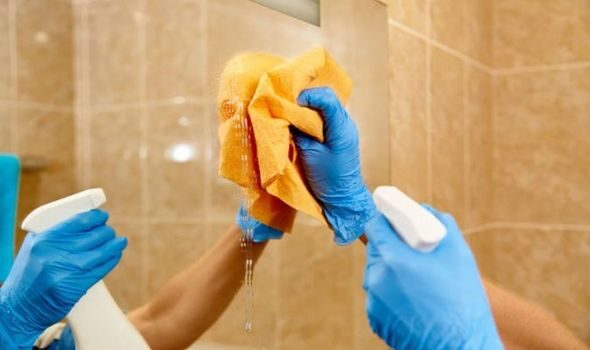
2. Deep cleaning helps remove viruses and bacteria.
Dirty homes are refuges for all sorts of uncontrolled bacteria and viruses. The more dirt that enters your home, the more likely you are to welcome unwanted viruses and bacteria. Quick surface cleaning might keep some of the lesser bugs away, it is only through a deep cleaning that you can really eradicate the bigger germs that hide below. At dial Cleaning Services, we help our customers get to the root of their deep cleaning issues and we offer professional, quality cleaning services.
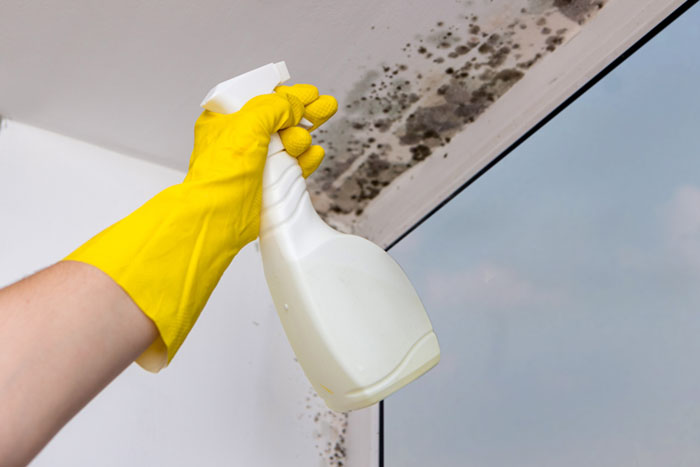
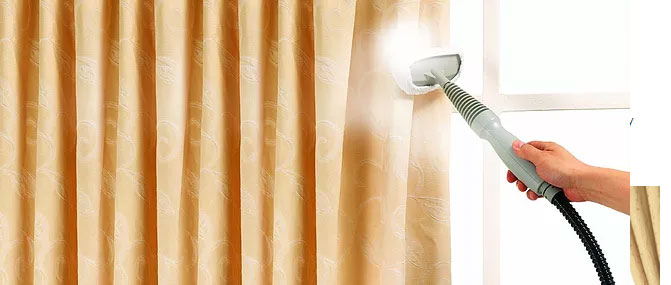
Deep cleaning can help in removing harmful health threats. For you to target the possible areas where molds are, you have to look for sources that contain
Immerse exposure to moisture which is the reason for the mold. Deep cleaning can clear your home of these bacteria that can harm your family or loved ones.
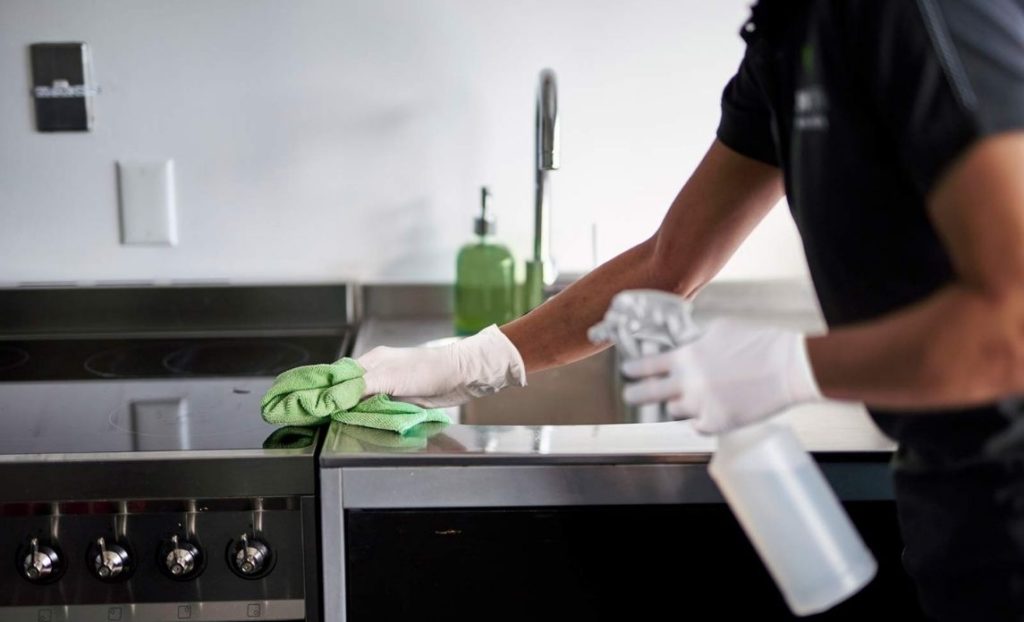
3. Deep Cleaning Helps You Achieve An Extra-Clean Kitchen
Regular cleaning will help keep the surfaces and corners of your kitchen clean. But, if you want it to be really spotless, then deep cleaning is the way.
Deep cleaning, go the extra mile to endeavor that your microwave is gunk-free, meaning all food buildup inside will be scrubbed off entirely. All of your small appliances, such as the mixer, blender, and toaster, will be sanitized and cleaned properly.
With deep cleaning you will also get a cleaner stove as it will help you eliminate the burnt food on your stove’s surfaces, making it smell and look better.

4. Improves your mental health
You may ask how deep cleaning is connected to positive mental motivation?
The state of your home affects your mental health. Notice that when a person is
suffering from depression, their home is likely to be in a mess. If you continue to ignore your surroundings the way you ignore your appearance this can increase your chances of falling into more negativity.
When you start organizing your surroundings and do a thorough
cleaning of your home, your mental state begins to raise. This has to do with
many things. One of them is the act of deep cleaning. The reason deep cleaning can improve your mental health is the satisfaction you get when your home is completely cleaned. You will get a sense of
exploit that aids in a remarkable improvement in your mood.
If the environment becomes cleaner and fresher, you will ultimately benefit from the
changes by reinstating a sense of positivity in your life. This will also help your
productivity rate by reducing clutter and helping you build a better routine in a spacious area. The more productive you become the happier you will be in the long term.
5. Lessens Allergy Symptoms
If you always experience flu-like symptoms, such as watery or dry eyes, runny nose, and sore throat, you may be suffering from an allergy. Even if a lot of allergens start outdoors, some others are normally found inside your home. Allergens, like dust mites, may affect anyone and can be detrimental in the long run, especially for those who have respiratory issues, like asthma.
With deep cleaning, you can lessen such allergy symptoms by getting rid of these allergens. This is because deep cleaning involves cleaning the nooks and crannies of your home, where allergens often accumulate.
Finally, If you want to maintain a germ-free home, make sure to schedule deep cleaning regularly with us at dial cleaning services, you can be assured that we are equipped with safe and high-quality cleaning products and equipment, enabling us to deep clean your home effectively.