How to Clean a Remote Control in Easy Steps
Cleaning Tips
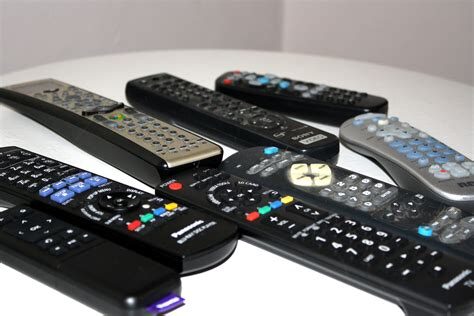
Cleaning might not be the first thing that comes to mind when you look at your TV remote, but it’s essential to know how to clean a remote control properly.
Cleaning a remote control probably doesn’t come to the forefront of your brain until it’s not working. However, remote controls get grimy. Remote controls are frequently touched and most times, not with clean hands. We clean our homes and other surfaces, but we forget those tiny but important things that are affected daily and can carry bacteria and viruses. The events of the past 2 years have taught us to pay attention to the tiniest details when it comes to hygiene. Here are some useful tips for cleaning and disinfecting all the remote controls in your home. Viruses and bacteria can live on such surfaces for a few days.
List of Supply needed
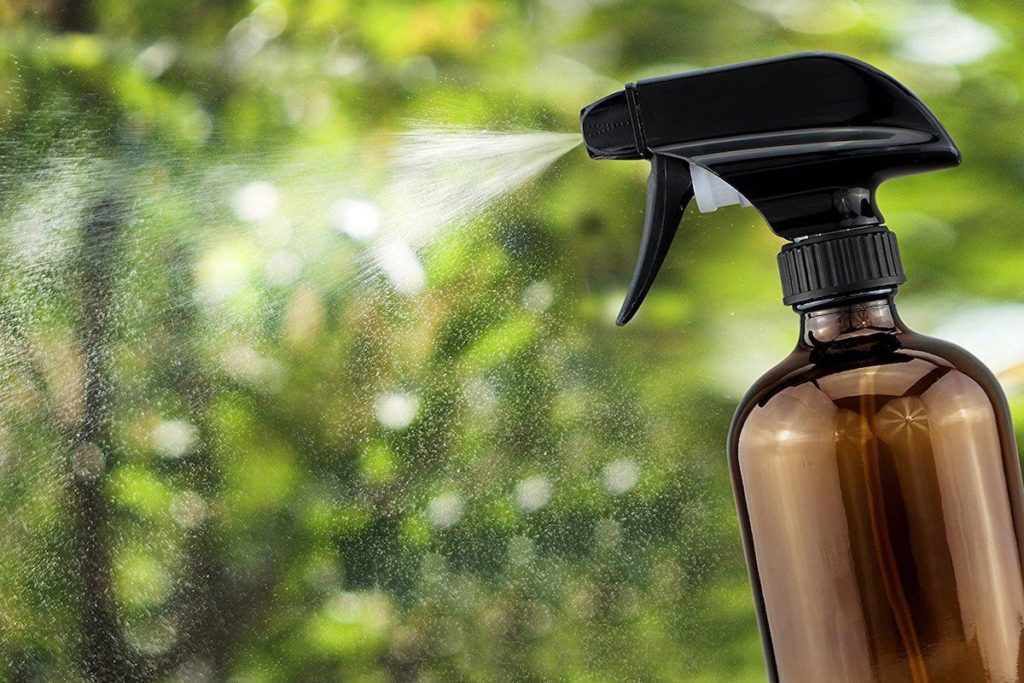
- Spray bottle
- Alcohol
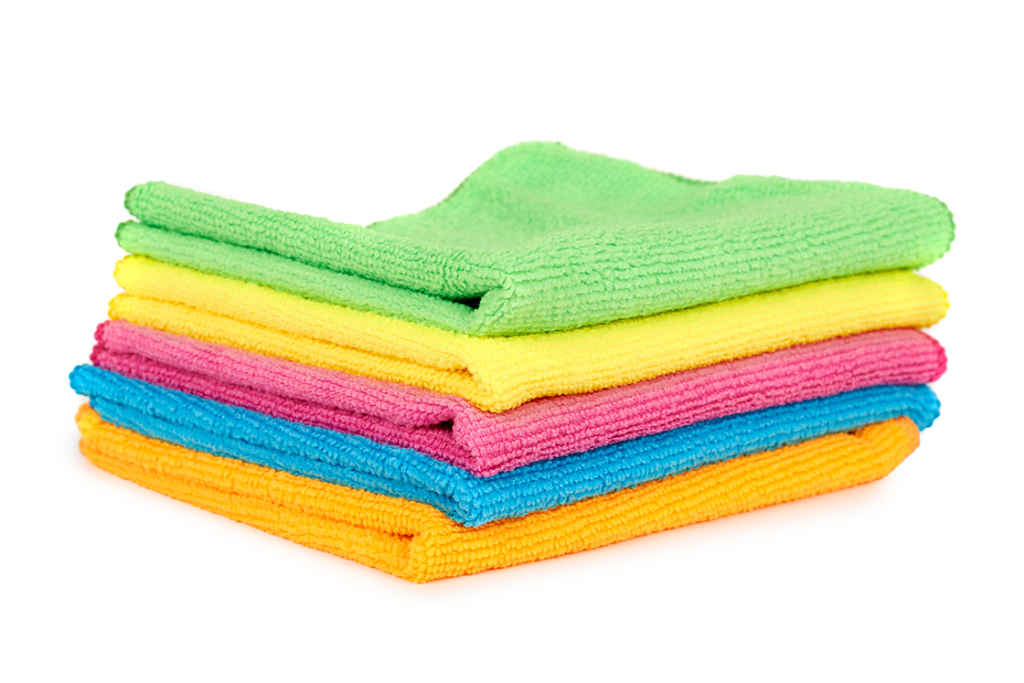
- Microfiber cloth
- Cotton swabs
- Lysol wipes
- Gloves
- Water
Steps on How to clean your remote controls
- When it comes to general cleaning of any remote control, you’ll want to look at your user guide if it’s available.
- Wear your disposable gloves
- Remove the batteries from the remote control.
- In a spray bottle, mix 30%water and 70% alcohol.
- Spray it on the microfiber cloth and clean.
- Then you use your Lysol wipe to disinfect or you can clean and disinfect with just your Lysol wipes
- For tight spaces, spray the mixture on the cotton swabs and work the areas to remove grime and buildup.
- Place the remote on a paper towel to air dry
- Remove and dispose the gloves and wash your hands for at least 20seconds.
- Replace the batteries and test the remote.
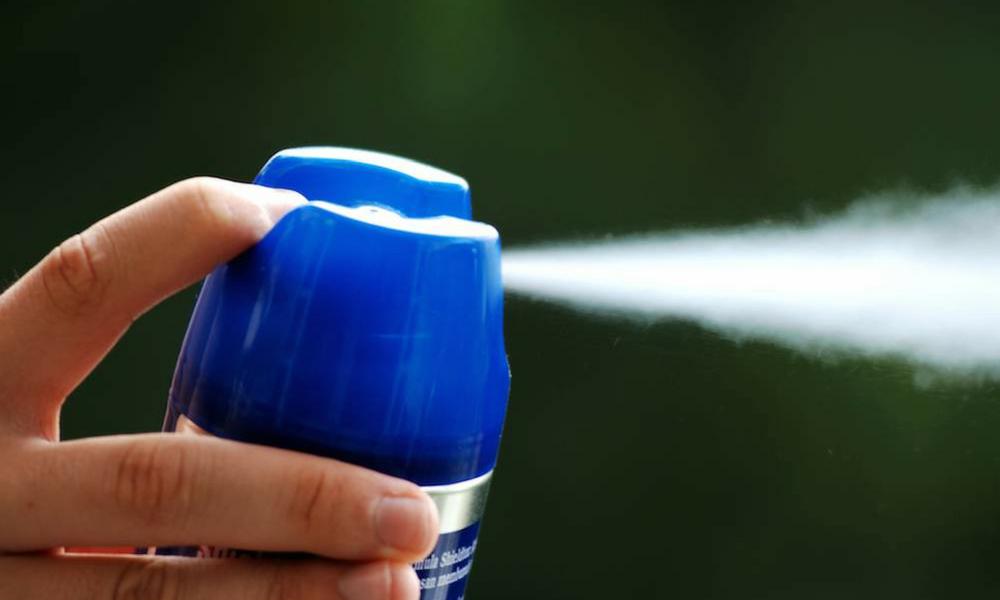
Can You Spray Lysol on a Remote Control?
When applying a disinfectant like Lysol to the remote control, you don’t want to spray it directly onto the controller. Instead, you want to spray the disinfectant onto a cloth and use that to wipe down the remote control.