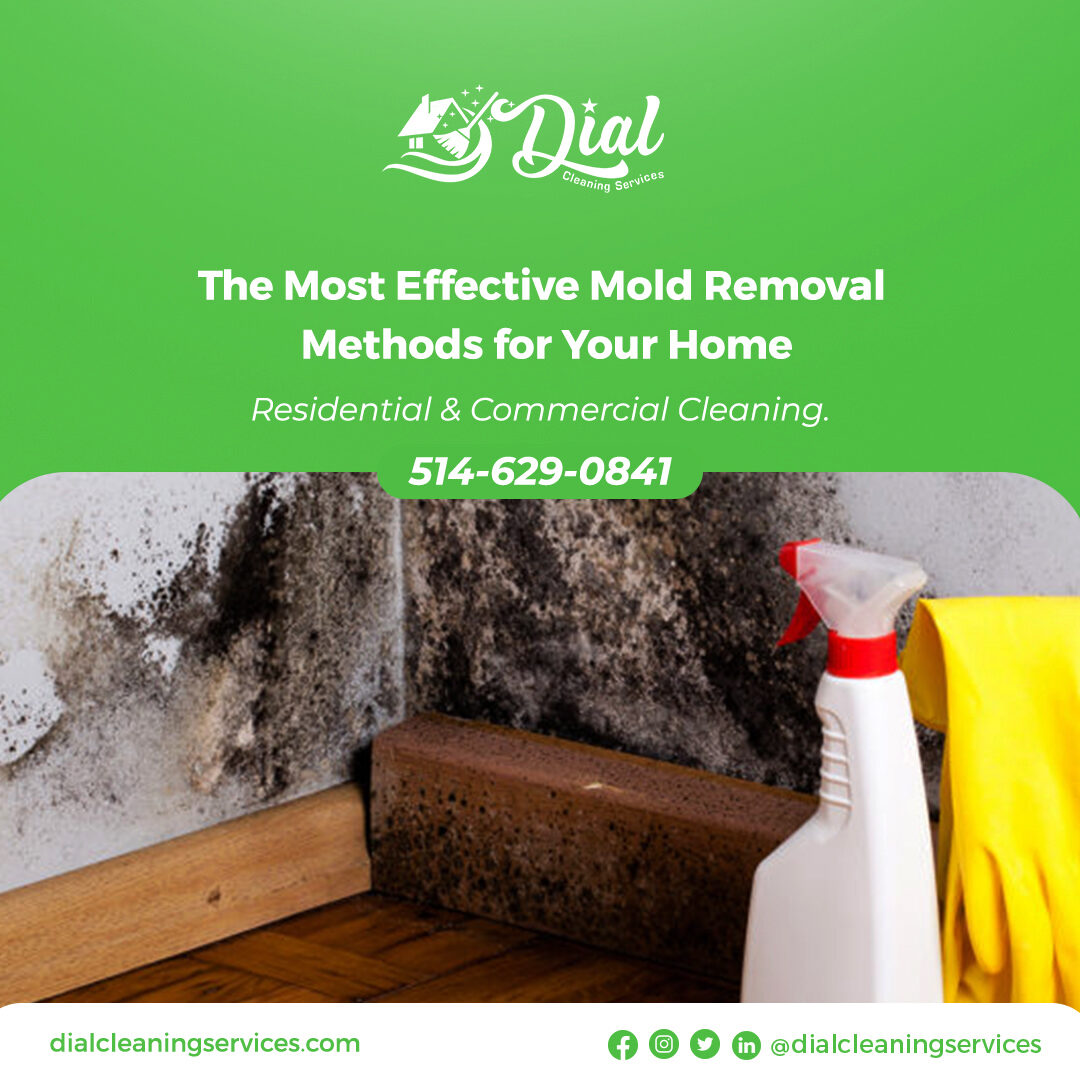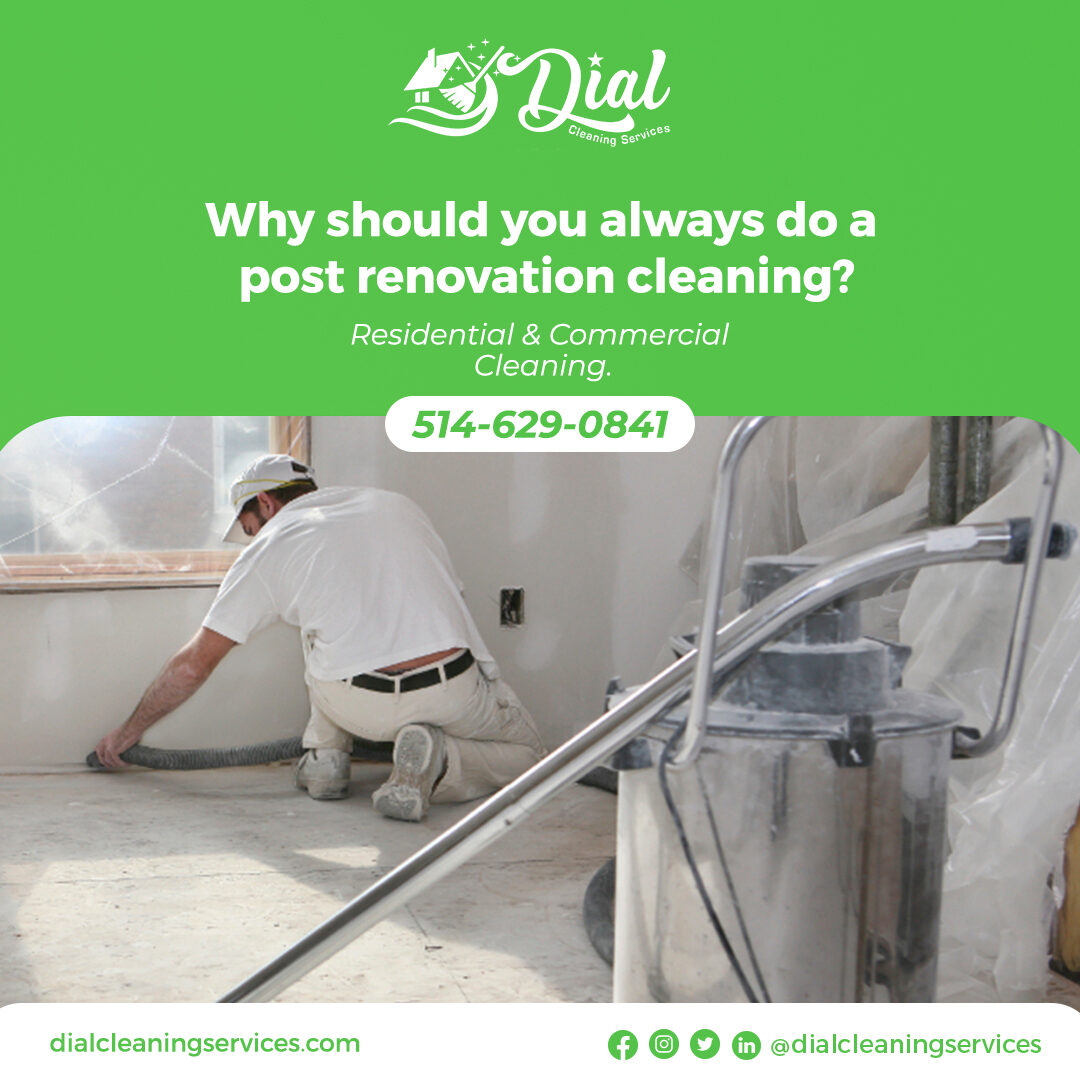
Why should You Always do A Post-Renovation Cleaning?
Renovations are frequently both thrilling and stressful. While you are looking forward to enjoying your new space and new design, there is a lot of effort that goes into remodeling your home. Changes might take days, weeks, or even months to implement. However, when the remodeling work concludes and your enthusiasm rises, there is one more thing you must do before you can truly relax: clean up the mess left behind.
If you have hired contractors to assist with the task, they will usually clean up after themselves. However, this does not imply that a thorough post-renovation cleaning would be necessary before you can comfortably use the area again. There will be a lot of dust and dirt to sweep up before you can have that picture-perfect scenario in your remodeled rooms. Furthermore, cleaning the new area will enhance the health of anybody who will use it.
What is involved in post-renovation cleaning?
It is critical to understand that post-renovation cleaning needs more effort than ordinary cleaning. Much of the dust and debris from the construction may be found in corners and crevices. Getting it removed might be a difficult task. That is why we propose hiring a post-renovation cleaning firm. Regular cleaning services just do not have the skills or ability to complete the task correctly.
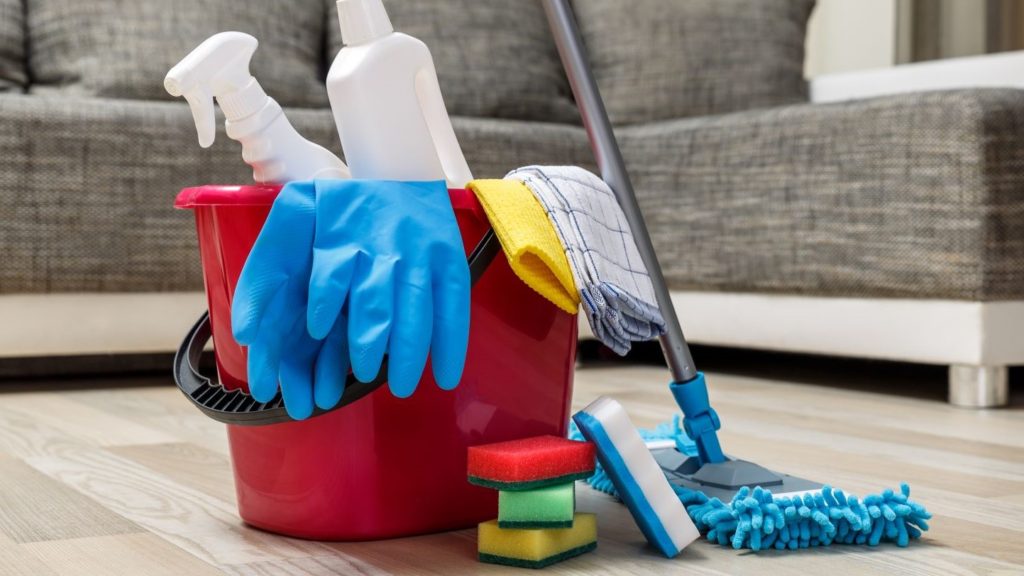
When it comes to cleaning up after construction or remodeling, there are several ways that may assist remove all of the dust and debris that has been left behind. These are some examples:
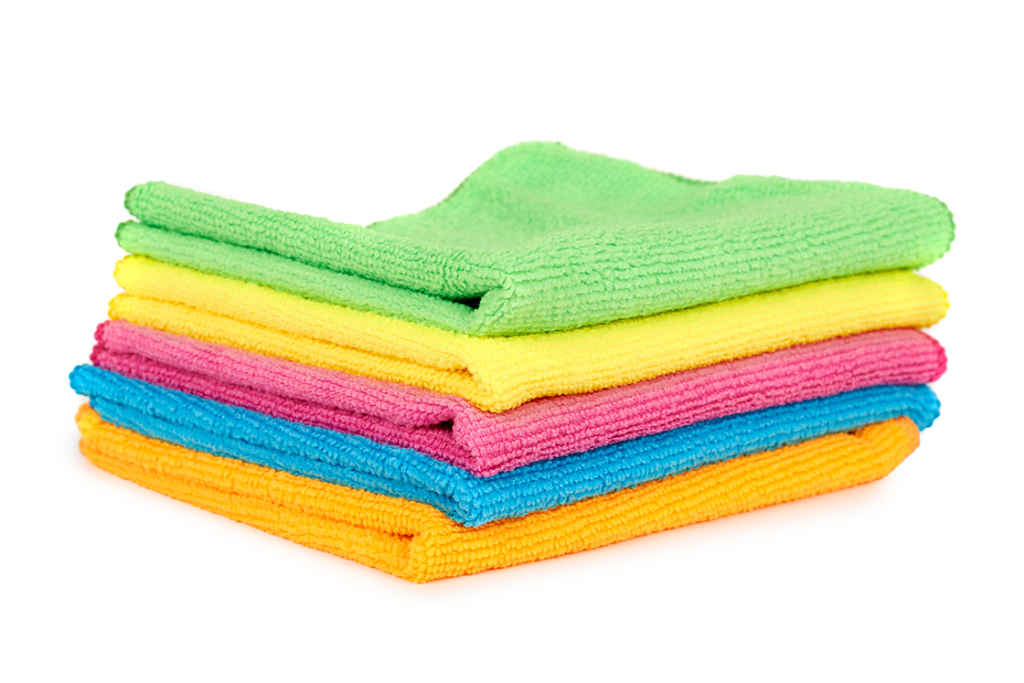
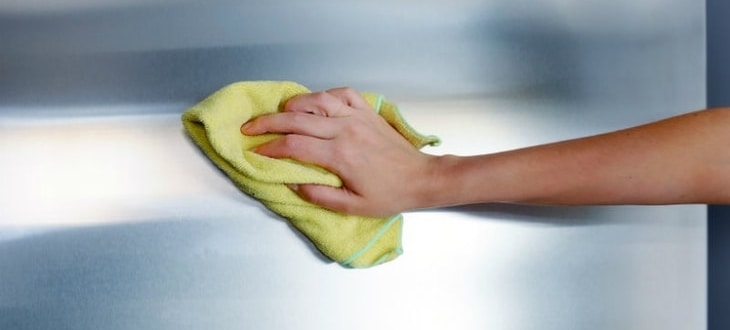
Dusting: One of the most serious dangers in a post-renovation environment is the quantity of dust in the air. This dust may settle on surfaces, conceal in corners and gaps, and create a potentially dangerous environment. Expert cleaners will need to wipe down every surface in the space to guarantee that all of this dust is gone. They’ll also need to clear up any places where dust might accumulate, such as closets, lockers, corners, and drawers. Cleaners will guarantee that any clothes, linen, carpets, or another item that may have accumulated remodeling dust are thoroughly cleaned and cared for.
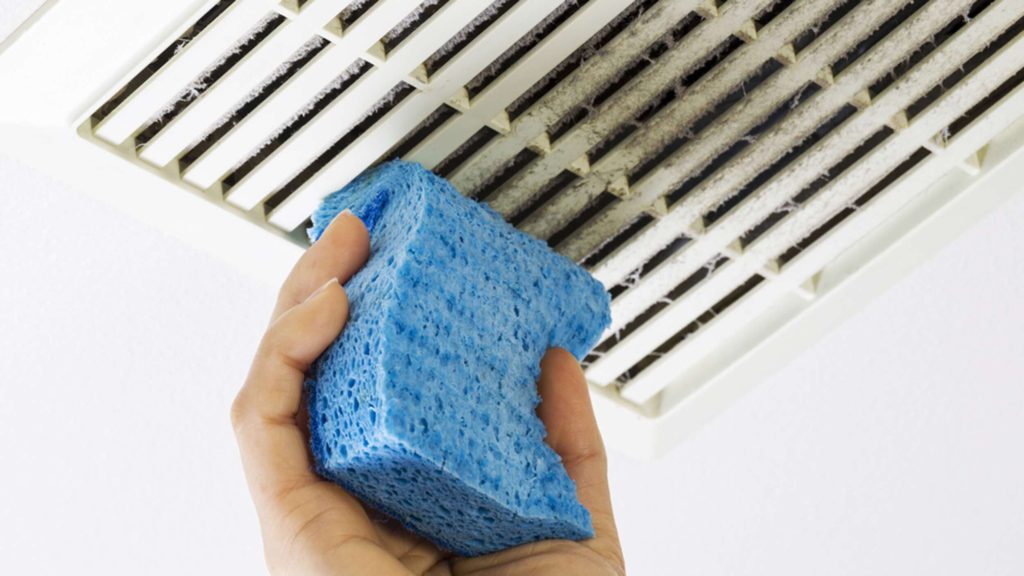
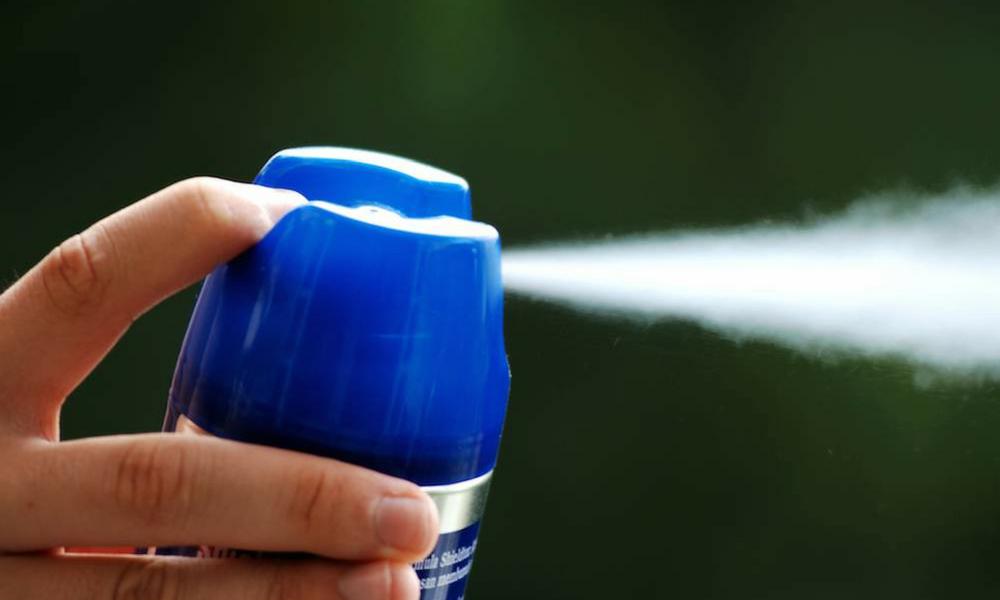
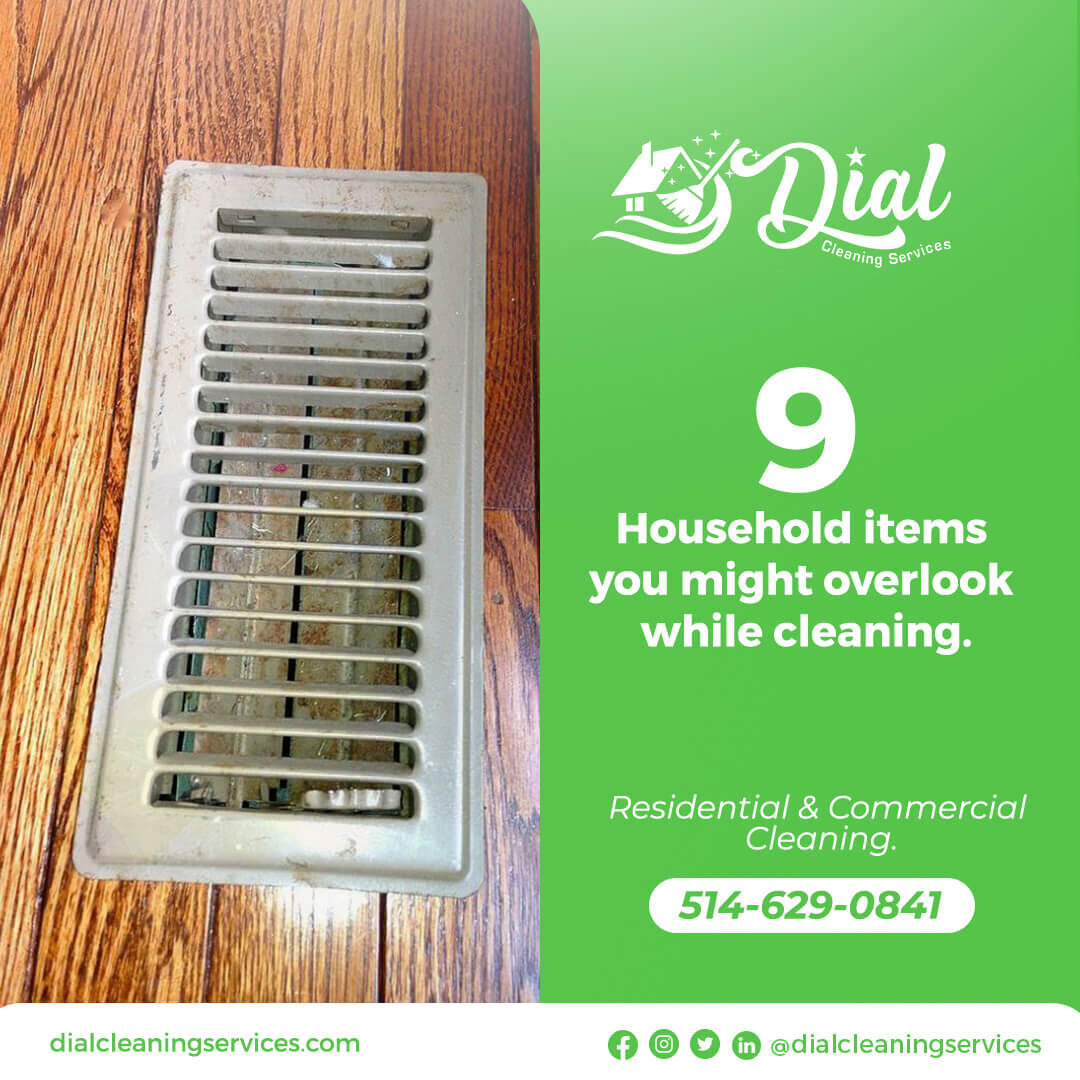
Air vents/filters: Unfortunately, dust from remodeling work can find its way into other areas of the house or workplace via air vents. This is when the skills of cleaning professionals may come in handy. We can prevent continued air quality concerns throughout your area by carefully removing and cleaning down any dust-infested air vents or filters. Experienced cleaners can also replace filters that are too filthy to clean.
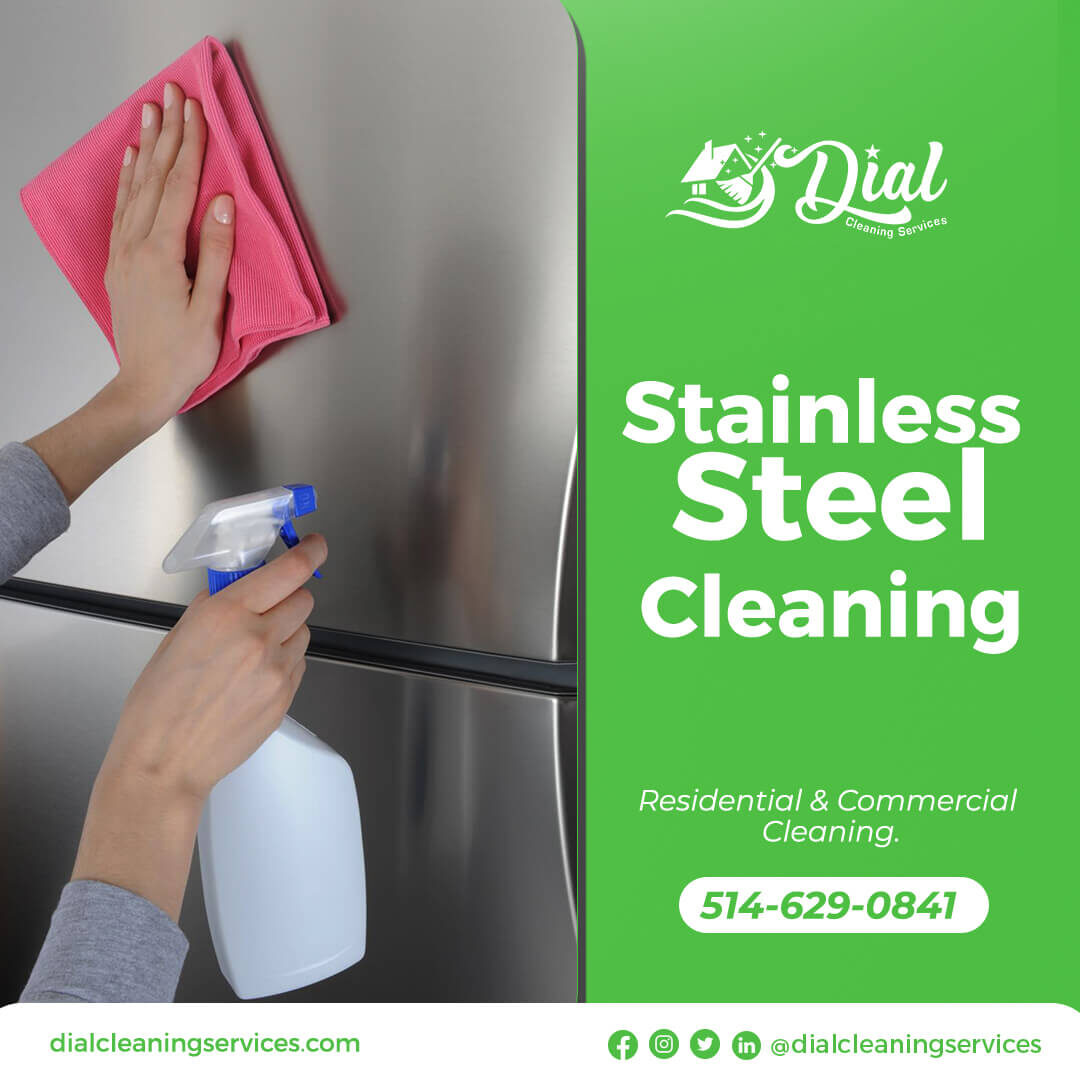
Flooring: One of the most typical areas for debris to accumulate is on the floor. Whether you have linoleum, hardwood, or carpets, getting it to look its best might require some extra time and work. Professional cleaning crews have the necessary equipment and training to do a thorough cleaning after a remodeling. The additional time and attention that cleaning professionals devote to ensure that your flooring is clean can be viewed as an investment. We can ensure that your post-renovation area is not just clean, but also attractive. This means you’ll be able to show off your newly remodeled area to all of your visitors with confidence.
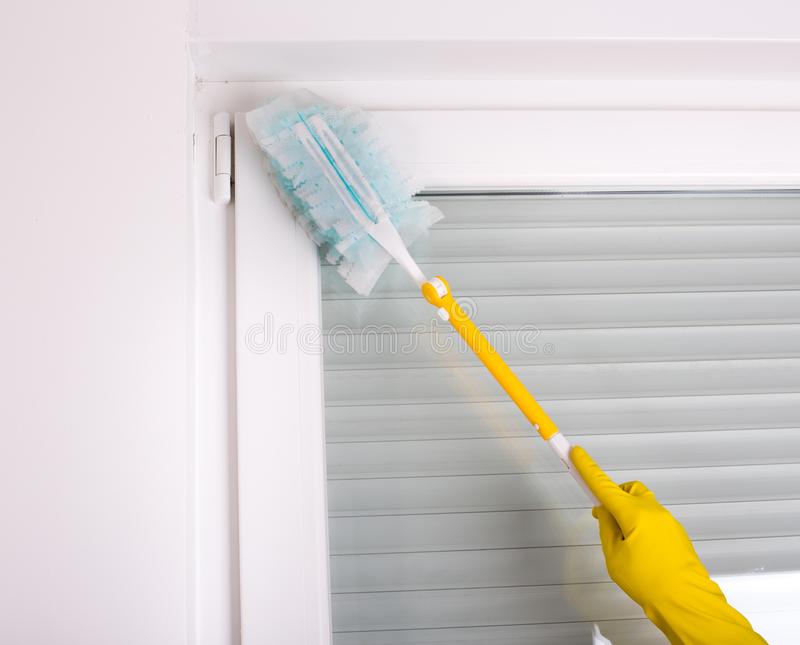
Windows: Windows and frames are other crucial aspects of post-renovation cleaning. It is a good idea to properly clean both the windows and frames after any remodeling or building work. Cleaners should spend additional time washing down the windowpanes and frames to eliminate any residual remodeling dust.
Extras: Depending on the size and breadth of your restoration project, you may need to do some additional cleaning. Professional cleaning firms with post-renovation cleaning knowledge may also provide:
- Furniture dusting.
- Dusting picture frames
- Cleaning light fixtures or lights.
- Garbage collection
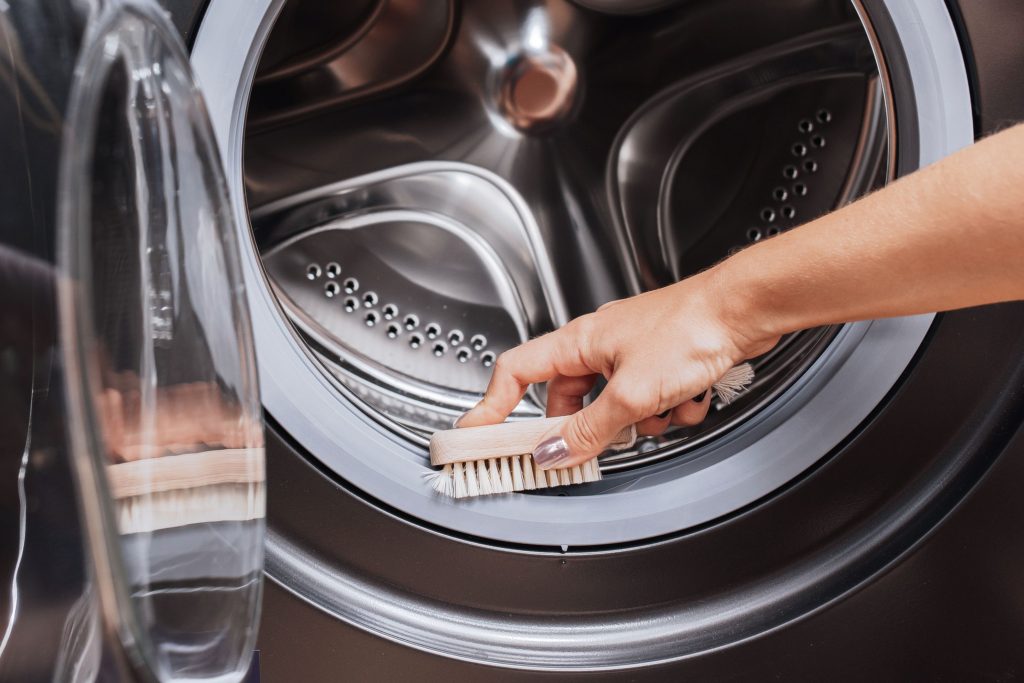
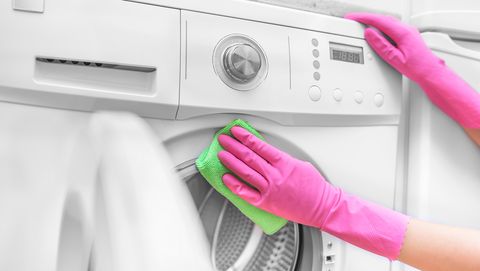
- Cleaning the appliances.
- Cleaning the walls.
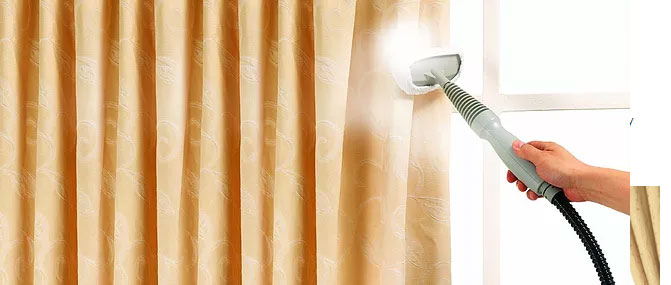
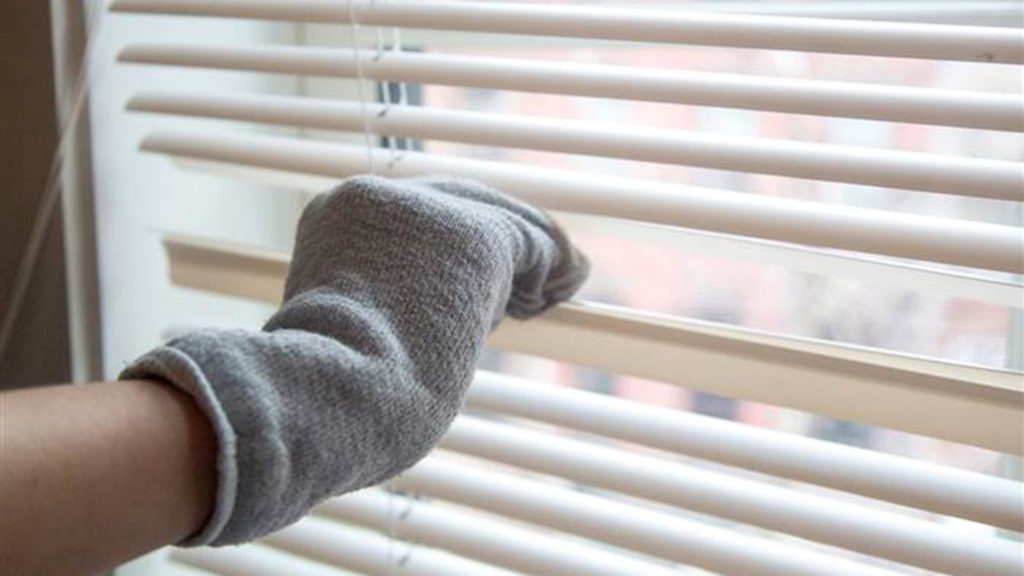
- Cleaning the blinds.
- Changing the bedding.
- Dishwashing
You may also require some specialized cleaning services in your home. Feel free to consult with your professional cleaning company to see if you can create a cleaning package that meets both your demands and your budget.
The Advantages of Using Professionals for Post-Renovation Cleaning
Cleaning up after a remodeling takes a lot more time and work than most other cleaning activities. It frequently necessitates the use of specialized procedures, equipment, and chemicals to ensure that the job is done correctly. Traditional cleaning procedures just do not cut it when it comes to cleaning up after construction or renovations. This is why it is critical to understand whether the cleaning firm you select specializes in post-renovation cleaning. Professional cleaners that specialize in post-renovation cleaning might save you time and money in the long run. It is also one of the quickest methods to reclaim your space.
Conclusion
When it comes to remodeling your home, it is critical not to ignore the post-renovation cleaning. While many contractors will clean up after themselves, a thorough cleaning will be necessary to have your new area looking its best. Dust and dirt that accumulates over the course of days, weeks or even months of remodeling work can hide in corners, closets, and other difficult-to-reach areas. That is why hiring a professional cleaning company with the necessary knowledge and equipment to conduct post-renovation cleanup is critical.
For more information on post-renovation cleaning;
Call Us: 514.629.0841
Address: Montreal, Quebec, Canada
Mail Us: info@dialcleaningservices.com