logotype
  • About
  • Residential
    • Special Cleaning
    • Carpet Cleaning
    • Window Cleaning
    • Deep Cleaning
    • Apartment Cleaning
      • Sofa Cleaning
      • Yard Cleaning
      • Roof Cleaning
      • Carpet Cleaning
    • Duct Cleaning
    • Upholstery Cleaning
    • Pool Cleaning
    • After Party Cleaning
  • Commercial
    • Office Cleaning
    • Hotel Cleaning
    • Hospital Cleaning
    • Mall & Shops Cleaning
    • Industrial Cleaning
    • Pharmacy Cleaning
    • Premises Cleaning
    • School Cleaning
  • Our Locations
    • Montréal
    • Westmount
    • Ottawa
    • Toronto
  • Contact
CALL US TODAY
  • About
  • Residential
    • Special Cleaning
    • Carpet Cleaning
    • Window Cleaning
    • Deep Cleaning
    • Apartment Cleaning
      • Sofa Cleaning
      • Yard Cleaning
      • Roof Cleaning
      • Carpet Cleaning
    • Duct Cleaning
    • Upholstery Cleaning
    • Pool Cleaning
    • After Party Cleaning
  • Commercial
    • Office Cleaning
    • Hotel Cleaning
    • Hospital Cleaning
    • Mall & Shops Cleaning
    • Industrial Cleaning
    • Pharmacy Cleaning
    • Premises Cleaning
    • School Cleaning
  • Our Locations
    • Montréal
    • Westmount
    • Ottawa
    • Toronto
  • Contact
logotype
logotype
  • About
  • Residential
    • Special Cleaning
    • Carpet Cleaning
    • Window Cleaning
    • Deep Cleaning
    • Apartment Cleaning
      • Sofa Cleaning
      • Yard Cleaning
      • Roof Cleaning
      • Carpet Cleaning
    • Duct Cleaning
    • Upholstery Cleaning
    • Pool Cleaning
    • After Party Cleaning
  • Commercial
    • Office Cleaning
    • Hotel Cleaning
    • Hospital Cleaning
    • Mall & Shops Cleaning
    • Industrial Cleaning
    • Pharmacy Cleaning
    • Premises Cleaning
    • School Cleaning
  • Our Locations
    • Montréal
    • Westmount
    • Ottawa
    • Toronto
  • Contact

Tag: kitchen cleaning

pexels-rodnae-productions-5591930
Blog House Cleaning Uncategorized
By Fin Dittimi April 29, 2022

Easy Steps To Clean Your Fridge

Few large kitchen appliances get such frequent use as refrigerators, so it’s crucial to keep them clean. A fridge exterior can help brighten your whole kitchen, while a clean interior looks great, uses space more efficiently, and can help you keep food fresher. These are easy steps on how to clean your fridge inside and out. 

Step1: Take everything out of the refrigerator

In order to properly deep clean a refrigerator, it needs to be totally empty, which means taking everything,  Stash highly perishable foods like milk or raw chicken in a cooler, to avoid spoiling.

Once you’ve taken out the food, remove any detached shelves, drawers, and door inserts.

Step2: Throw out old and spoiled food

As you transfer food from the refrigerator to the cooler or freezer, check for spoiling and throw away anything that’s gone off, or that you simply know you will not use. If your refrigerator is home to a lot of leftovers in food storage containers, this is a good time to review the contents and throw out any food that you know you will not consume. Disposing of leftovers can be an unpleasant task, but donning a pair of rubber household gloves can help to make scooping old food out from storage containers a less disgusting job.

Step3: Wash shelves and drawers

Start by washing the shelves, drawers, and/or door inserts you removed from the refrigerator, which can be done just like you wash dishes, using a sponge and dish soap. If the refrigerator shelves are made of tempered glass, a bit of caution is required when cleaning them. Priyanka Rathore, a communication manager for KitchenAid, says, “It is important not to clean glass shelves or covers with warm water when they are cold. Shelves and covers may break if exposed to sudden temperature changes or impact, such as bumping.”

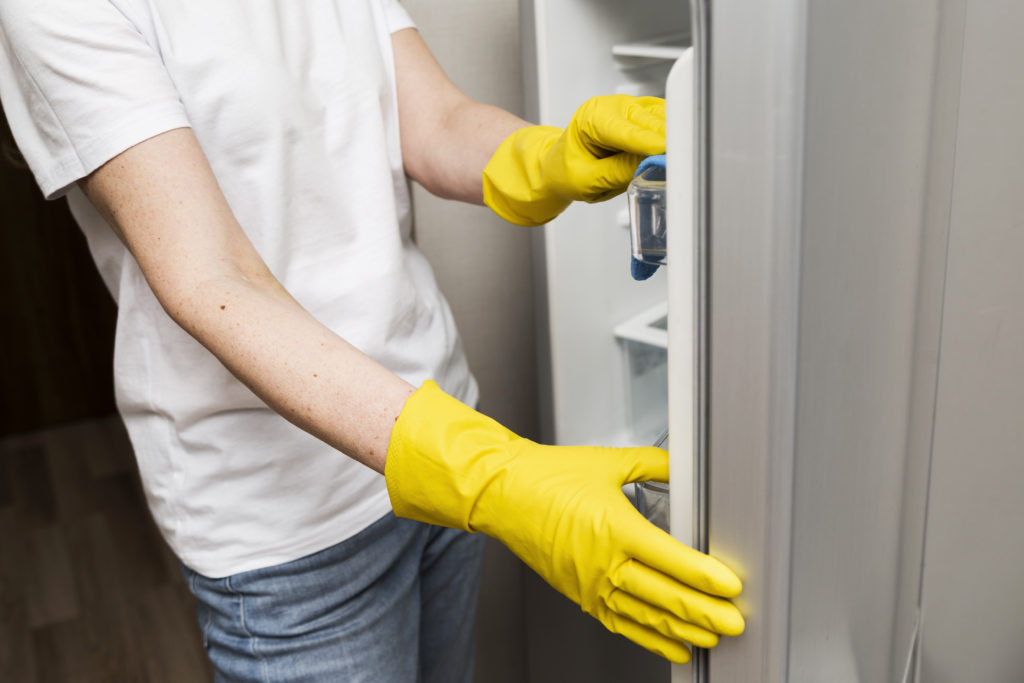
Step4: Clean the interior of the refrigerator

When it comes to choosing a solution for cleaning the interior of a refrigerator, there are a number of options, and personal choice should certainly play a role. If using a disinfectant like diluted bleach solution makes you feel more comfortable, that is a fine choice. If using bleach in the place where you store your food makes you feel uncomfortable, that is also okay.

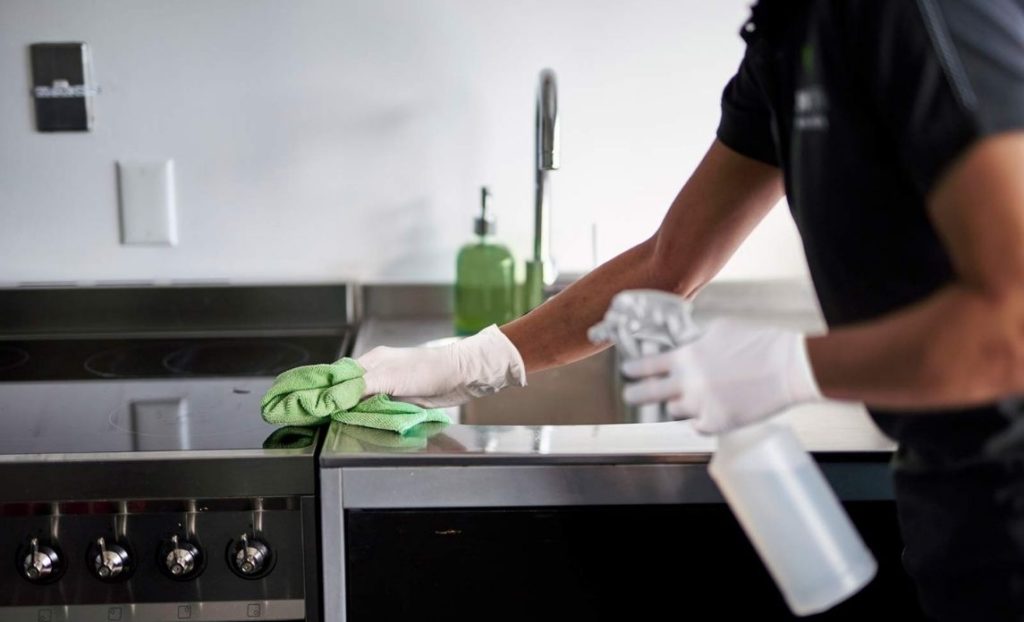
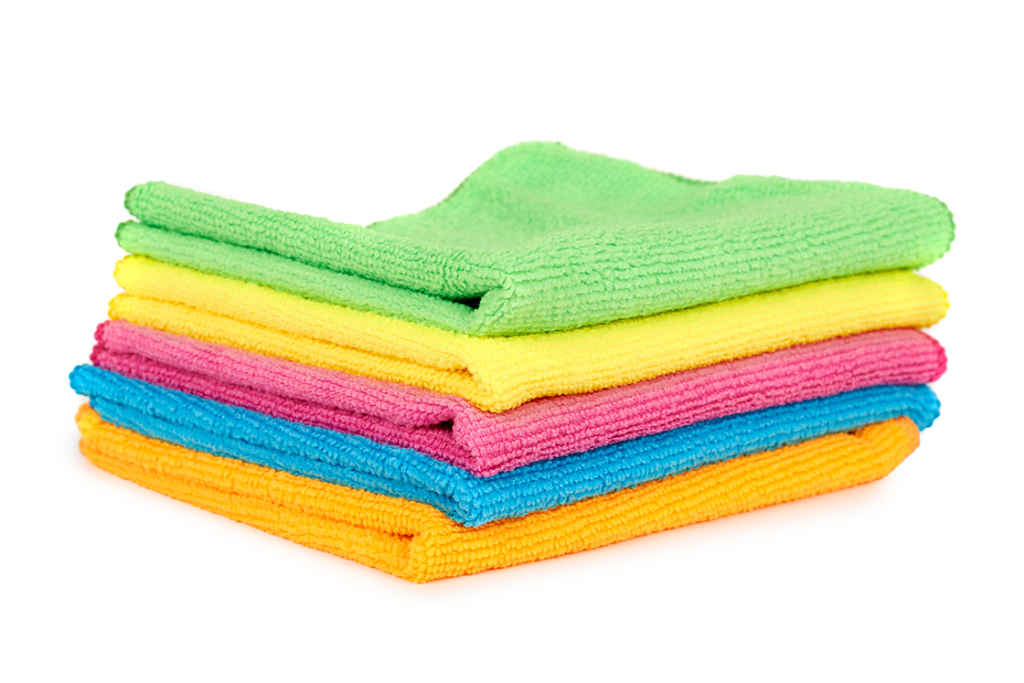
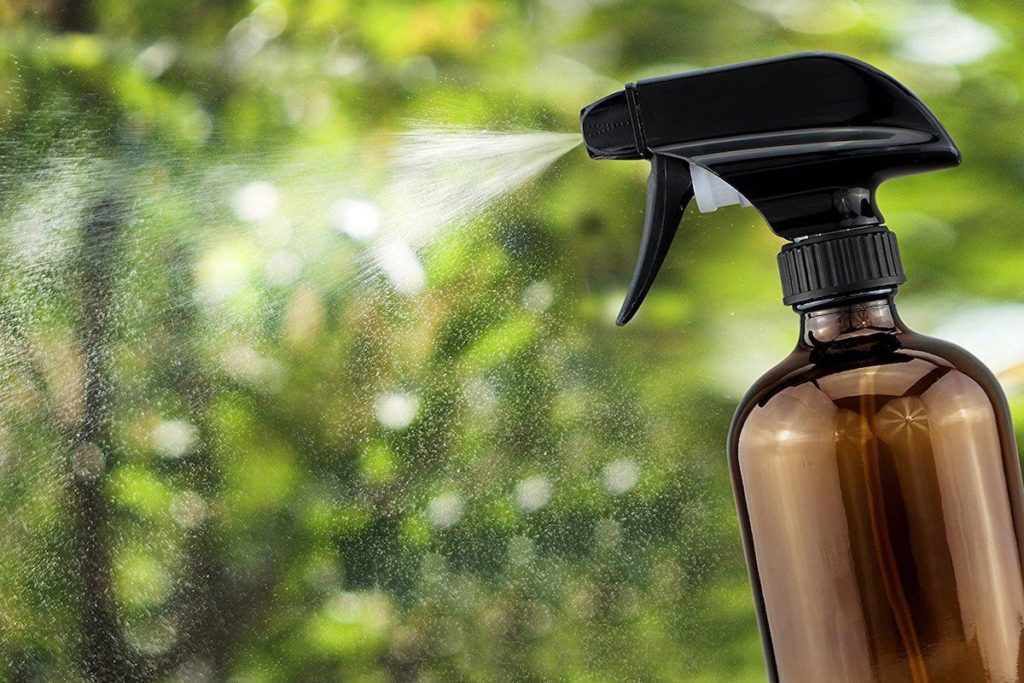
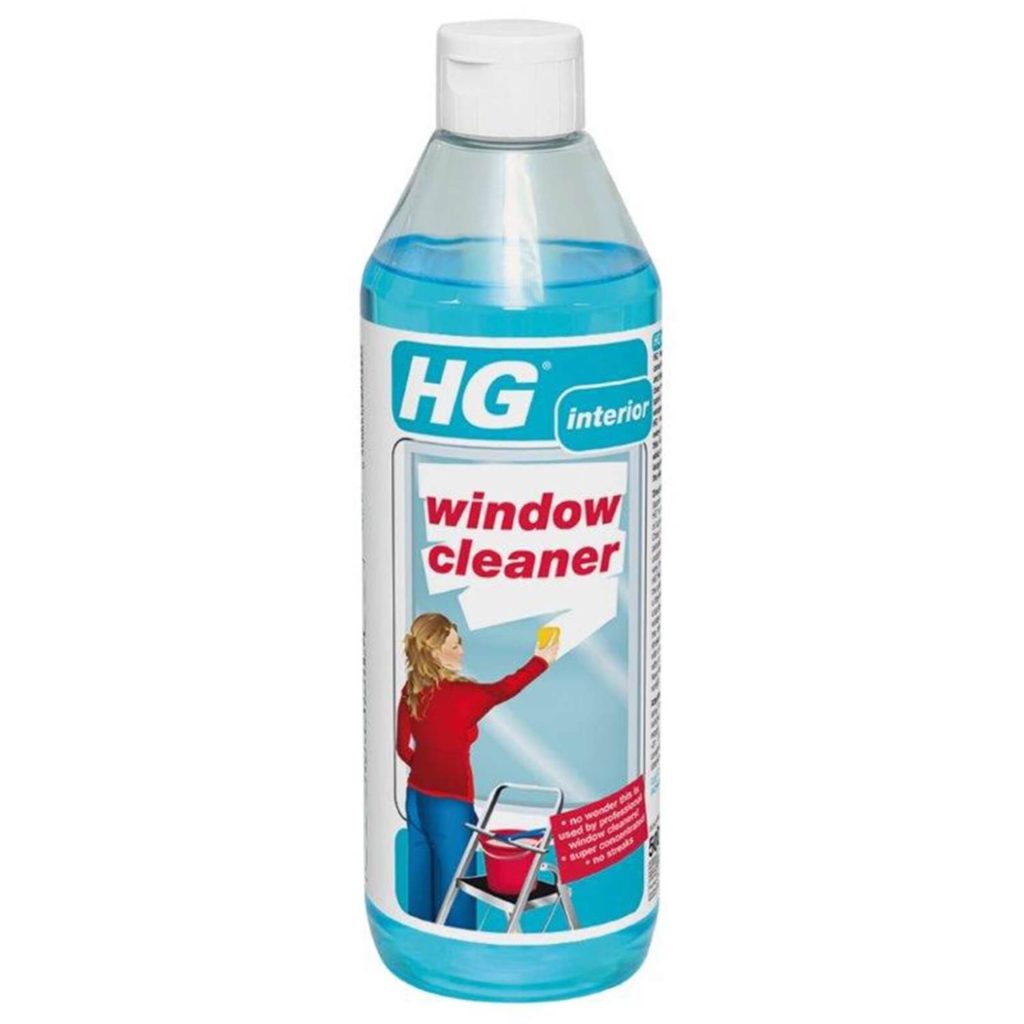
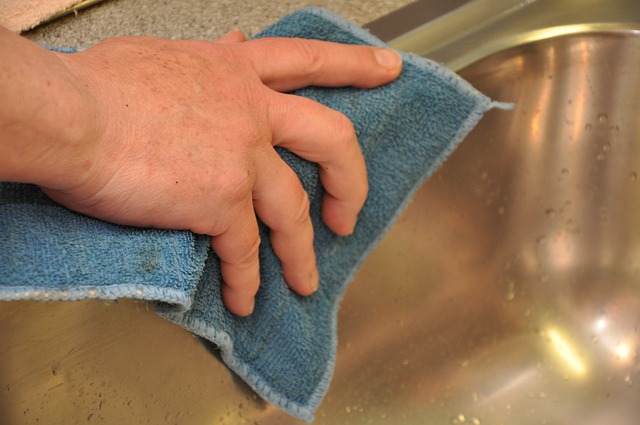
There are, however, some products to avoid when cleaning a refrigerator, Rathore says. “Do not use abrasive or harsh cleaners such as window sprays, scouring cleansers, flammable fluids, cleaning waxes, concentrated detergents, or cleaners containing petroleum products on plastic parts, interior, and door liners or gaskets.” After scrubbing with a sponge, use a microfiber cloth or paper towels to give the interior of the refrigerator a going-over. Use an old toothbrush to reach tight or oddly-shaped parts and a thin cloth for cleaning the rubber seal around the door.

Step5: Treat stubborn spills and stains with these tricks

To remove a stubborn, stuck-on mess, wet a sponge or rag with very hot water, wring it out and press it on the spill just as you would a compress, repeating as needed and being careful not to burn yourself with the hot water. The heat and moisture will reconstitute the dried-on mess, making it pliable and easy to wipe up.

Young worker woman wearing rubber protective yellow gloves cleaning the fridge with rag and spray bottle detergent. Home, housekeeping concept. Lifestyle

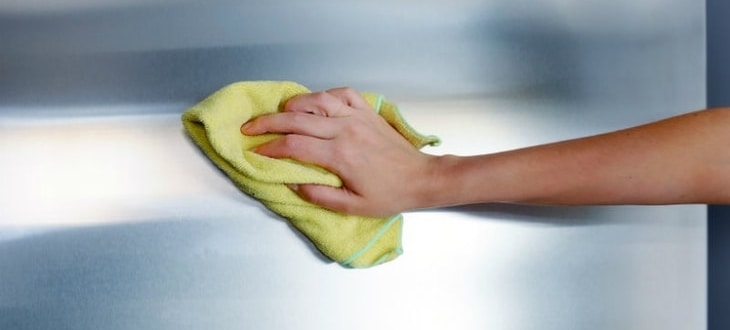
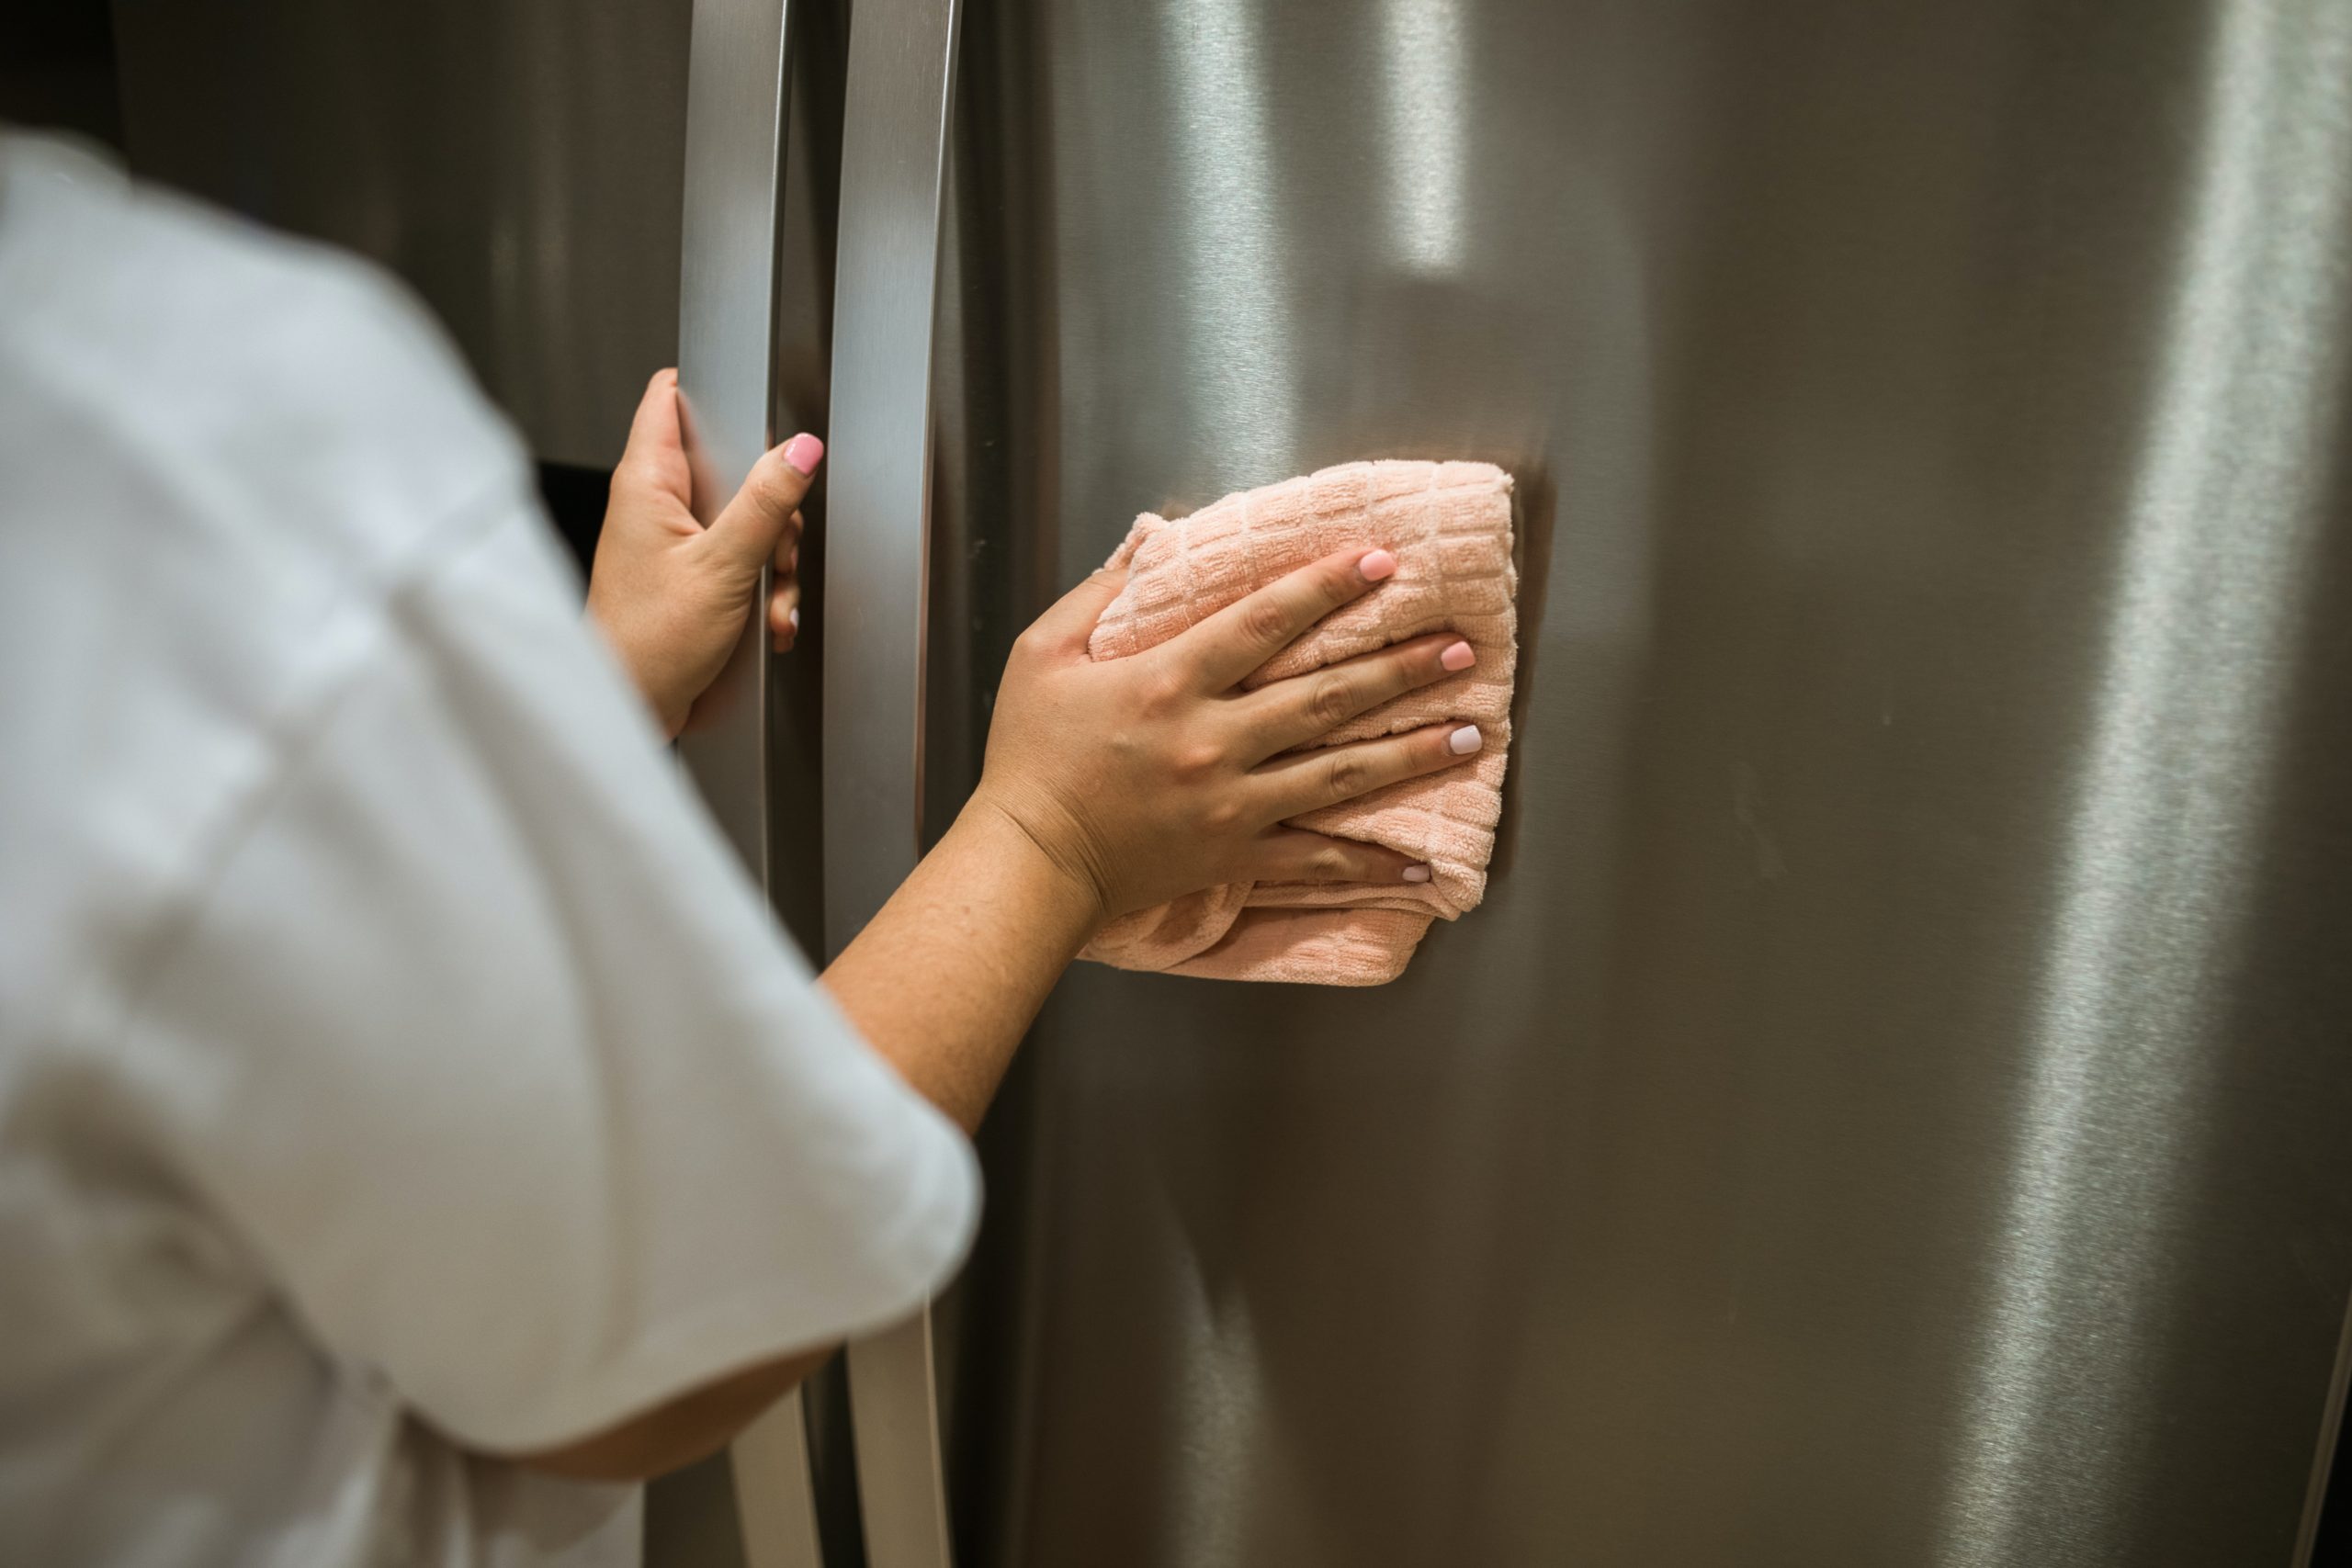
Step6: Clean the exterior

The exterior of plastic refrigerators can be cleaned in the same way as the interior, using a microfiber cloth or sponge with a mild cleaning solution. Stainless steel refrigerators can be wiped clean using a microfiber cloth; very dirty exteriors may require a stainless steel cleaner, though typically one is not needed. If fingerprints and smudges often show up on your stainless steel appliances, a wax-based cleaner can help to prevent them. Regardless of material, don’t overlook the top of the refrigerator when cleaning its exterior as it is likely very dirty.

Fridge Cleaning Hacks

  • Wipe up spills and stains as soon as they happen since, the longer they sit, the harder they’ll be to remove. 
  • Make sure containers are clean going into the fridge. A jam jar or ketchup bottle with residue on the outside will make your fridge sticky. 
  • When thawing items such as frozen meat, place them on a rimmed plate or baking sheet to control spills or leakage.
  • Soak cotton balls in vanilla extract and leave them in the fridge for a few hours to provide a pleasant aroma. 
  • Clean the refrigerator door seal with a toothbrush and a mixture of bleach and warm water. Wipe with a dry cloth.
  • Try scrubbing tough stains with a mildly abrasive toothpaste.
  • Place a crumpled piece of brown paper in the fruit and vegetable drawer to absorb odors over time.
  • Don’t overfill your refrigerator. Fridges cool more efficiently if air has room to circulate, and it’ll be harder to see or clean up stains if it’s overcrowded.

READ MORE
10-Hydrogen-Peroxide-Cleaning-Methods
Blog House Cleaning Uncategorized
By Fin Dittimi September 27, 2021

10 Hydrogen Peroxide Cleaning Methods

There is at least one bottle of hydrogen peroxide in many homes—not all or most, but many. It is usually packaged in a brown container because it becomes unstable, separates, and becomes worthless when exposed to sunlight. It’s most commonly found in the first aid aisle while shopping, which is why it’s most commonly utilized as… a first aid product. Well, it has a number of additional applications, particularly in cleaning. According to the Centers for Disease Control and Prevention, hydrogen peroxide is an efficient disinfectant that may kill viruses, bacteria, and other forms of germs.

One quick note: if you prepare any sort of DIY cleaning remedy that includes hydrogen peroxide, make it on the spot and discard it when you’re through. Make only as much as you need because it won’t last long. Oh, and always test it in a hidden area first before using it as a stain remover or whitener to ensure it does not hurt or discolor the surface/garment.

Miracle Stain Remover

A few years ago, a recipe for Dawn Miracle Cleaner went viral on Pinterest. It was two parts hydrogen peroxide to one part Dawn dish soap. To be honest, it may be any dish soap, however, Dawn works very well.

The most essential thing here is to handle the stain like you would any other stain. To begin, remove any leftover debris/liquid by scraping and blotting—always treat a dry stain. Then, using a cleaning toothbrush, carefully brush the stain removal product in (don’t overuse the product or you’ll have to do additional rinsing later). Allow it to sit for 10 minutes before blotting with a clean towel and water to remove the substance (then launder as usual if applicable). This is one of those situations when you should try it first in an inconspicuous location before using it on a soft surface (like a sofa or carpet).

Cleaner for Cutting Boards

Glass cutting boards are very resistant to smells, but wood (and even plastic) may get rather unpleasant with time. If you discover that your cutting board smells, it means that there are bacteria on the surface that has to be removed. Straight hydrogen peroxide is an easy method to deal with it; spray it on the surface, let it sit for 5 to 10 minutes, then scrub your cutting board with soap and water, rinse carefully, and allow it to dry. Straight hydrogen peroxide will surely kill any odor-causing microorganisms.

Garbage Cans

Garbage, recycling, and compost containers can accumulate a strong odor. These items, whether kept inside your house or in your garage, must be handled regularly are several to eliminate residual smells. An excellent approach to deal with them is to first make sure they’ve been cleansed, but then use some pure hydrogen peroxide to eliminate any smells. Allow the dumpsters to rest for about 10 minutes after thoroughly spraying the interiors. Once this time has gone, just wipe them down. If the scents persist, repeat the process a couple more times to return your normally stinky bins to a lovely neutral condition.

Blood Stains

If you acquire a bloodstain on your clothing or mattress, a bottle of hydrogen peroxide is a quick and easy cure. Once a bloodstain has formed, it is quite difficult to remove, therefore always deal with it as soon as possible. Remove the clothing as soon as you discover a bloodstain, apply a small amount of hydrogen peroxide to the area, and you should observe that the bloodstain begins to fade virtually instantly. You may even see some bubbling, which is a good sign! Allow this to rest for a minute before rinsing with cold water. Repeat until the stain has disappeared, then launder the item as usual.

Toilet Plume + Toothbrush = Nasty!

If you don’t know what a toilet plume is… It’s the tiny spray that comes out of your toilet every time you flush it—and sure, if your oral healthcare instruments (toothbrush!) are within acceptable proximity (six feet or so? ), some of that toilet plume will drop on them. To summarize, you may prepare a simple solution of 3 parts water to 1 part hydrogen peroxide and soak any of your dental health care implements in it. Allow objects to soak for up to 30 minutes, then rinse well and air dry to eliminate bacteria. As an aside, before you flush, close that lid.

Kids’ Toys

There are several varieties of children’s toys, as well as numerous methods for cleaning them. However, if you only have a pile of plastic toys—no batteries, no internal parts—there is a very simple technique to clean and sterilize them. Fill a bowl with a liter/quart of water, add 1 cup of hydrogen peroxide (for a 4 to 1 ratio), and soak your toys for around 10 minutes. This will kill the majority of the bacteria and germs that have grown on the toys. To conclude, give them a good rinse and let them air dry.

Makeup Sponges and Blenders

Those of us who use makeup are aware that we must clean our cosmetic equipment on a semi-regular basis. If you use sponges to apply your makeup, these may be quite difficult to clean. First and foremost, I would recommend that you clean them with soapy water. Then, soak for around 10 minutes in a 3 to 1 solution (three parts water to one part hydrogen peroxide). Allow for a 10-minute resting period. This can assist destroy any acne-causing germs that you wish to get rid of. Brushes may be cleaned in soapy water as well, and then sprayed with a little hydrogen peroxide and left for a minute or two.

Washing Produce

If you’re concerned about the cleanliness of your vegetables when you arrive home from the grocery shop, you may make a simple wash. Simply combine a liter/quart of water and 1 cup of hydrogen peroxide in a big mixing basin. Put in all of your produce and soak it for around 5 minutes. This should be enough time for the hydrogen peroxide to kill any germs and/or bacteria that may be present on the surface of your vegetables. Then, and this is critical, thoroughly rinse and dry everything before placing it in the fridge or keeping it on the counter.

Reusable Bags

Do we ever consider washing our reusable bags? Consider where they’ve been: grocery store floors, conveyor belts, vehicle trunks, public transportation floors, kitchen floors, garage floors, and so on. You guessed it: hydrogen peroxide is an easy method to clean them. Toss them in the washer with normal detergent and a cup of hydrogen peroxide in the bleach section. If you just add this to your laundry, you can anticipate your bags to come out not only cleaner, but also free of bacteria, viruses, and other unpleasant stuff.

Grout Whitener

We enjoy using hydrogen peroxide to whiten grout since it is well-known for its ability to whiten. A simple grout whitener formula would be 2 parts baking soda to 1 part hydrogen peroxide. You may combine that in a bowl (remember, just make as much as you need at the time) and then apply it to your unclean grout using a cleaning toothbrush. Allow this to sit for about 5 minutes before retrieving the cleaning toothbrush and scrubbing a little further before washing with a clean cloth (baking soda tends to leave a little bit of grittiness behind so you want to focus on this when rinsing).

Check out our EcoFriendly Cleaning Service In Quebec, Canada.

Call Us: 514.629.0841

Address: Montreal, Quebec, Canada

Mail Us: info@dialcleaningservices.com

READ MORE
steel
Blog
By Fin Dittimi September 20, 2021

Get Your Home Back-To-School Ready

For those with school-aged children, the end of summer generally signifies the end of more casual schedules. I haven’t gone back to school in a long time—don’t ask how long!—but I remember the exhilaration of the first day. Purchasing new school supplies, fresh clothing, and ultimately racing out the door on that first morning. Back to school is always a whirlwind—inescapable!

I know that once you find out a fantastic strategy to keep your house tidy for the school year, it will be a lot easier to get back into the groove of things.

Finally, if you’re not ripping your hair out and can prevent any last-minute panic, we’ve done our job—here are some of the best back-to-school suggestions;

The Task List

Make a priority list to save your sanity from trying to recall everything you need to accomplish. Make a list of the things you need to accomplish before school starts, such as any school supplies you need to buy and any activities with impending registration deadlines. Then write another list of everything else you can think of to make the next few months easier for yourself and your family.

Inventory and Organization

Begin with a blank slate; it will be much easier to maintain it that way. Papers, jackets, backpacks, shoes, and sweaty sports gear will build up—but if you have a dedicated location for everything, you’ve just improved your organizing odds. Also, before purchasing any new school supplies or clothing for your children, check to see what they currently have. In the spirit of decluttering, get rid of anything that is damaged, severely worn out, too tiny (unless it is suitable for hand-me-downs), or discolored beyond repair.

Next, write a list of exactly what your children require and try your best to keep to it. Schools will also occasionally give a list of required materials for the upcoming school year, making your work a bit easier. When you go shopping with a list, you’re more likely to buy only what’s on it, which saves you money—bonus! Alternatively, you may wait a week after school begins and get everything when it’s marked down (#smart).

High-Contact Areas Should Be Sanitized

Hand cleaning and sanitizing high-touch areas have been top priorities in recent years. With the start of the new school year, it’s critical to boost the sanitizing routine, especially if your children are returning to school. Throughout the day, our hands wind up touching a lot of things. Disinfect doorknobs, light switches, remote controls, handles, and any other location you know your family often contacts.

I’m sure we’ve all become accustomed to cleaning face masks, so this is just a kind reminder to make sure your child has a clean one on hand every day. It’s advisable to keep at least five face masks on hand so that you can wash them at the end of the school week. They should be cleaned separately from other clothes in hot water with ordinary laundry detergent or vinegar.

Obtain a Calendar

Hang a magnetic dry-erase calendar in your kitchen if you haven’t already to keep track of everyone’s activities. Use a different color marker for each member of the family so you can tell who is doing what at a glance. When you arrange piano lessons, ice skating practice, or receive information about field excursions or bake sales, put them on the calendar right away. I also recommend purchasing a 12-month calendar to keep track of events in subsequent months and moving them to the dry-erase calendar.

The Homework Area

It’s critical for kids to have their own study place, especially as they get older and have more homework—and I’m not talking about at the dining room table (I say that to preserve the sanity of parents, too)! If they have space in their bedroom for a desk, that’s great. Otherwise, a family room, living room, or office (preferably one without a television) will suffice. If the desk lacks drawers or shelves, consider placing an organizer on top of it. And, if you have the space, a bookshelf is a great addition because it adds extra storage space with the capacity to expand!

Our obsession for pegboards has no boundaries, and the same goes for over desks.

They’re fantastic for adding extra storage space for tiny goods such as pens, paintbrushes, and pencils. Desk lights may even be hung from them! Take it a step further by painting it in your child’s preferred color.

Encourage your children to take responsibility for keeping their homework spaces nice and tidy. Giving children the tools they need to organize their artwork, projects, and report cards will help to reduce clutter around the house. Create color-coded files for each child’s schoolwork, mementos, and vital paperwork for super-organized parents. This also makes coursework easier to discover, and at the conclusion of the school year, it can be simply sifted through to choose what is preserved and what is discarded.

Cleaning the Closets

It’s amazing how quickly the front hall closet becomes a dumping ground for… well, everything. Here’s how I keep ours clean and organized. There you have it—space for coats and bags! If you have a big hallway or mudroom, you can even build cubbies with hooks for jackets and bags as well as storage for shoes, musical instruments, and sports equipment. To keep toys and books tidy, you may also use labeled plastic boxes or baskets, or create a separate shelf exclusively for school materials. If your children have a designated area for everything, chances are they will utilize it more frequently, and you will no longer trip over their belongings.

Take up chores as a family.

Make everyone in your home a team member by including them in duties and organizing. This will also help youngsters develop a sense of responsibility for their families. Begin with easier activities for the youngest and more difficult chores for the older children. In order to promote involvement, include prizes for finishing duties.

Check out our EcoFriendly Cleaning Service In Quebec, Canada.

Call Us: 514.629.0841

Address: Montreal, Quebec, Canada

Mail Us: info@dialcleaningservices.com

You may also like:

READ MORE
Why-Should-you-Clean-out-your-New-Home-before-Moving-in
Blog House Cleaning
By Fin Dittimi September 15, 2021

Why Should You Clean Out Your New Home Before Moving In?

When moving into a new house, one of the most crucial services accessible to you is deep cleaning. A thorough cleaning will ensure that you have addressed all aspects of your home. Deep cleaning allows you to be sure of the cleanliness of everything in the house to the highest quality. A once-over deep cleaning will ensure that your property is in immaculate shape when you are ready to move in.

Rooms and corridors

Deep cleaning will include all window sills, ledges, woodwork, and mirrors to ensure that all halls and rooms are thoroughly cleaned. All of them will be cleaned, and anything that may collect dust will be dusted, as well as cobwebs and fingerprints removed. Vacuuming, cleaning up, and emptying the garbage cans are all part of the process.

Bathrooms

The cleaning woman is standing in the bathroom holding a blue bucket full of chemicals and facilities for storing her hands.

A deep house cleaning service will ensure that the whole bathroom is cleaned and sanitized, including the tiles, bathtubs, showers, doors, sinks, basins, toilets, bidets, vanities, worktops, and backsplashes. All of them will be washed, wiped, vacuumed, and dusted to ensure that everything is immaculate, from the floor to the lights. With a thorough cleaning, you can be certain that everything will be spotless when you move in.

Kitchens

The only item left to clean thoroughly in your new house is the kitchen. To ensure that the kitchen is immaculate, all sinks, fixtures, worktops and backsplashes, all appliances and stovetops, and even the insides of the toaster and microwave will be thoroughly cleaned. Throughout the cleaning procedure, no detail will be overlooked.

Determine How Much Needs to Be Cleaned

A distinguishing advantage of obtaining a deep cleaning is that every minor detail will be handled. Extras such as washing inside an oven or cleaning inside cupboards might be included in deep cleaning. Because the state of a new house might vary greatly, there will always be distinct difficulties in different houses.

Understand the Procedure

There is a method that must be followed in order to perform a good deep cleaning. Rubber gloves, sponges, rags, a vacuum, cleaning goods, a step ladder, and other materials, for example, are essential. While dealing with all of these items, the organization becomes critical when preparing for deep cleaning.

It is critical to begin high and end low in order to have an effective process. Make sure, for example, that you finish with the floor to conceal your tracks. The cleaning procedure will always be divided into sections, and you want to make sure that none of them are jeopardized while others are being worked on.

Because of its thoroughness, deep cleaning is the finest cleaning service you can receive before moving into a new house.

Call Us: 514.629.0841

Address: Montreal, Quebec, Canada

Mail Us: info@dialcleaningservices.com

READ MORE
Microfiber-the-go-to
Blog Uncategorized
By Fin Dittimi September 1, 2021

WHY IS MICROFIBER THE GO-TO CLEANING MATERIAL FOR JANITORIAL SERVICES?

Microfiber, often known as a miracle material, is one of the world’s most popular cleaning cloths. If you haven’t already succumbed to the hype, now is the moment. Everyone, especially professional cleaning firms, adores microfiber. Let’s take a look at why microfiber is the industry’s favorite material for getting things clean!

What exactly is microfiber?

To comprehend the advantages of this synthetic substance, we must first comprehend its composition. Microfiber is a nylon and polyester blend. The fibers are finer than human hair. When combined, they form a net that retains more dirt, dust, and moisture than cotton. One of the reasons for its efficacy is its static charge. This sticking effect attracts dirt until the fiber is cleaned.

What can I do with microfiber?

Microfiber is soft enough to use on a variety of surfaces to get a lint-free shine. It’s especially effective on glass, mirrors, and chrome, and it can even be used to clean your car. Because microfibre is made up of millions of microscopic hooks, it attracts all types of dirt, dust, and bacteria in the home. Here are a few of our favorites:

Kitchen: Using your favorite microfiber rag and a little water, remove all the muck and dirt off your kitchen equipment. After a simple wash clean with this wonder material, stainless steel equipment will gleam. You may also use microfiber to clean counters, cabinets, and stovetops. Food remnants, grease, and oil are no match for those minuscule hooks!

Bathroom: Scrub your shower tiles with a microfiber cloth to remove any mildew or soap scum.

Dusting: Microfiber tends to retain dust particles rather than disperse them into the air. You’ll also prevent chemical residue on your surfaces because all you need is a little water.

On your skin: We know it sounds strange, but have you ever considered giving up soap? Microfiber facial wipes are ideal for removing makeup and oil off your face – without the need for soap! Give it a go. We guarantee you’ll never feel so clean again.

Can I use microfiber to clean in a more environmentally friendly way?

Yes, microfiber is ideal for people who want to avoid harsh chemicals entirely. Most cleaning products contain detergents, solvents, and scents. These items can be extremely dangerous to infants and children. However, with microfiber, all you need is a little water to eliminate approximately 99 percent of germs from your home and workplace. Cleaning with water keeps these noxious compounds off your surfaces and out of your lungs. You’ll also save a lot of money on cleaning supplies.

Because microfiber can be reused, you’ll be helping the environment by reducing your usage of paper towels. Paper towel production uses a lot of resources, including trees and water. Consider how many of these you’d need to clean your windows, mirrors, and counters. Microfiber, on the other hand, may be washed hundreds of times without losing its efficacy.

What other advantages does microfibre have?

Aside from its lint-free cleaning ability, microfiber has a plethora of additional advantages. Here are some other advantages:

1) Quicker drying time: When compared to cotton towels and sponges, microfiber dries up to 60% faster. If you just have a few clothes, you won’t have to wait as long to use them after washing.

2) Long-term savings: Good microfiber goods are somewhat more expensive than conventional sponges. However, because microfiber can be washed and reused up to 500 times, you will more than likely recoup your investment in the long term.

3) Greater cleaning power: Microfiber mops have better surface contact with the floor than regular cotton mops due to their net-like structure.

4) Fewer slips and falls: Floors cleaned with a microfiber mop dry significantly faster than traditional mop floors.

5) Hypoallergenic: Because microfiber is unlikely to produce a response, it is ideal for people who suffer from allergies or asthma.

How should I care for my microfiber cloths?

Microfiber cloths must be cleaned correctly to maintain their efficacy and longevity. Fabric softener and washing detergent are two major items to avoid. Chemical products can damage microfibers by destroying their magnetic capacity to attract dust and germs. Although it may appear contradictory, all you need to wash microfiber is water. There is nothing else.

Always remember to wash microfiber on its own. Cotton, for example, should never be washed alongside microfiber towels. Wash without detergent in a cold setting. When the cycle is over, either air dry your microfiber or place it in the dryer on the lowest setting.

If you’re wary of cleaning your house or workplace with harsh chemicals and filthy cotton rags, try switching to microfiber. Millions of people couldn’t be wrong about this ‘miracle substance,’ can they? Invest in a package of high-quality microfiber items that will provide a great clean and last a lifetime for pristine surroundings!

Check the best cleaning service In Montreal, Quebec, Canada.

Call Us: 514.629.0841

Address: Montreal, Quebec, Canada

Mail Us: info@dialcleaningservices.com

READ MORE
bugs
Blog Uncategorized
By Fin Dittimi August 27, 2021

How to Keep Spiders and Bugs Out Of Your House

Let’s face it: bugs and spiders are revolting. That implies we want them to be as far away from our houses as possible. The summer months are especially awful for flies, mosquitos, and other creepy crawlies. Many of us prefer to leave the windows and patio doors open to let fresh air enter. However, this increases the likelihood of spiders and pests invading your home’s interior.

So, how can you keep those creepy crawlies at bay without utilizing chemicals that are hazardous to your family? Continue reading to find out!

  1. Screens

Patio screens may appear to be an expensive initial purchase, but they are well worth it. When your doors are open, these screens slide back and forth along the frames, acting as a barrier between you and the outside elements. Screens enable fresh air to enter your house while keeping insects and spiders outdoors, where they belong. If you don’t want to hire a contractor to install bespoke screens, you may simply buy a screen kit at large box home improvement stores.

  1. Peppermint Spray

Here’s an interesting fact: Bugs and spiders despise the fragrance of peppermint! Purchase some essential peppermint oil and spritz it about your home. If you’re having a barbecue outside, spray some at the base of the chairs and table as well. This will keep the pests at bay while also leaving your home smelling minty fresh!

  1. Insect-repellent coils

Mosquito coils are an excellent method to keep these pesky insects at away. These coil-shaped rings are lighted on one end and then burn to emit incense. As long as there is sufficient air circulation in your house, the odor will not be overwhelming or bothersome.

  1. Repellent Sprays

Popular insect repellents, such as OFF!, perform quite effectively. Purchase a household spray and liberally apply it on window sills, patio furniture, and baseboards. Spiders and bugs are known to congregate in these locations. Although the odor is imperceptible to humans, crawly critters are extremely sensitive and will avoid your home as soon as they smell it.

  1. Maintain a regular cleaning schedule.

It is well known that spiders and bugs prefer cluttered environments. This is why you must maintain a clean home at all times. Pests are attracted to leftover food, dirt, and dust. Keep them away by tidying up, especially after meals. Also, remember to take out the trash regularly and to avoid leaving domestic waste containers exposed for extended periods.

Contact us today for professional help

Call Us: 514.629.0841

Address: Montreal, Quebec, Canada

Mail Us: info@dialcleaningservices.com

READ MORE
Stainless-Steel-Cleaning
Blog House Cleaning
By Fin Dittimi August 20, 2021

STAINLESS STEEL CLEANING

Stainless steel appliances are one of the most popular kitchen trends in recent years and for good reason. Stainless steel goes with everything, it’s ultra-modern and elegant, and it looks brand new for years! However, if left untreated, it is renowned for displaying every single smear and fingerprint.

Fortunately, we’ve compiled a list of cleaning techniques for stainless steel appliances so they always appear as gleaming as the day you purchased them!

Microfiber

When it comes to stainless steel, traditional paper towels and dish rags will just leave it streakier than when you started! Invest in a pair of microfiber towels for cleaning, and your appliances will remain gleaming and new.

Follow the Grain

When wiping anything off stainless steel, it is critical to follow the grain of the surface. Otherwise, not only will streaking occur, but dust particles will become entangled in the surface as well.

Window cleaner

It isn’t only for glass, people! Window cleaners are an inexpensive and risk-free solution to clear most smudges and spills off stainless steel equipment. There’s no need to overdo it; a few sprays and a good wipe or two will generally suffice. Any more than that will result in more streaks than you began with.

Oil

It might sound counterproductive to remove the oil of fingerprints with even more oil but trust us. It works! Rub a bit of mineral or baby oil over the streak, and absorb any extra residue with a dry cloth.

Eco-friendly

If you’re looking for an eco-friendly or even homemade option, there are plenty of ways to skip out on the stronger store-bought chemicals. The easiest, cheapest, and most accessible option? Vinegar. There’s no need to dilute it, just transfer it to a spray bottle, and use it the same way as any other all-purpose cleaner. You can always add essential oils or lemon juice to cut some of the tangy vinegar smell.

Baking soda is another solution for stubborn stains. Combine it with a little water to form a paste-like mixture, then massage it into surface spots using a moist towel or dish brush. Once all dirt has been gone, properly rinse it with water, shine it up with vinegar if desired, and dry it with your microfiber towel.

We guarantee you’ll be blown away by how gleaming your stainless appliances are!

Check out our EcoFriendly Cleaning Service In Quebec, Canada.

Contact us today for professional help

Call Us: 514.629.0841

Address: Montreal, Quebec, Canada

Mail Us: info@dialcleaningservices.com

READ MORE
lash
Blog Uncategorized
By Fin Dittimi August 13, 2021

5 WAYS TO CLEAN YOUR FREEZER

Clean your freezer entails more than merely removing food and allowing it to thaw. There are a lot of stages involved in getting it done correctly! Here are five cleaning suggestions for your freezer to guarantee its maximum functioning over time:

Turn off the freezer

The first step in cleaning your freezer is to turn it off. This reduces the possibility of electrical shock and other damage while your freezer defrosts.

Because shutting off your freezer may cause it to defrost, position it in a location where excess water will not damage the floor or other appliances. If required, lay towels or old newspapers below it to absorb water.

Take out all the food.

Please remove all of the food from your freezer after turning it off to prepare for the major clean-up. Place all food in the refrigerator or another freezer to keep it cool while you clean. Fill plastic storage bins or big containers with lids with frozen food. You may avoid \early defrosting by keeping food in airtight containers when the food is returned to the freezer, line containers with towels or plastic bags to make cleaning easier.

Take stock of what you own.

A lot of the food in your freezer has most likely been there for a long time. Cleaning out your freezer is an excellent time to take stock of all you own.

As you remove the items, make a list of the names and expiration dates of everything you wish to save, and label the containers. Also, check and smell food to see whether it is rotten.

Food spoilage indicators include:

Discoloration that is not typical

noxious odors

Frost or ice on the food contained within the container or packaging

Labels that are no longer in use

Accelerate the defrosting procedure.

After you’ve completed the first few stages, it’s time to let your freezer defrost. If you leave the lid open, this might take many hours. However, if you want to expedite the procedure, follow these steps:

Close the top on a big container of boiling water and place it in the freezer. You may need to refill the hot water many times.

Use a low-heat hairdryer. Keep water away from the dryer to avoid an electrical shock.

Clean your Freezer

Drain your freezer once it has defrosted. Then, clean it out with a gentle cleaner such as dish soap or baking soda and vinegar. The following is how you should clean it:

Fill a dish halfway with water and a tiny quantity of your preferred cleanser.

Wash the inside with a towel dipped in the solution.

Takedown any shelves or baskets and wash them in the sink.

Rinse your freezer to get rid of any cleaner.

Allow it to dry naturally.

Place a package of baking soda inside and shut it for several hours to get rid of any residual odors. You may also put a box of baking soda in the freezer with your food as a preventive step, as long as you replenish it every few months.

Contact us today for professional help.

Call Us: 514.629.0841

Address: Montreal, Quebec, Canada

Mail Us: info@dialcleaningservices.com

READ MORE
oven
Blog Uncategorized
By Fin Dittimi August 11, 2021

HOW TO DEEP OVEN CLEAN

At the heart of each excellent house is a kitchen that welcomes family and friends and serves as a gathering place for wonderful meals and even better memories. The oven, of course, is at the center of that kitchen. The oven is where all of your favorite meals come to life right before your eyes, and it’s also where you wait eagerly to see if your cookies and cakes turned out properly. While your oven provides a lot for you and your family, it is necessary to give it some additional attention from time to time in order for it to stay operating at its best. Cleaning your oven is critical to the health and safety of everyone in your household.

DIY Oven Cleaning

Close up of female hand with yellow protective gloves cleaning oven door

To begin cleaning your oven, gather the following items: an old toothbrush, scourer, oven cleaner, sponges, and rubber gloves. When cleaning your kitchen and oven, strive to use caustic-free cleansers to avoid harmful or dangerous chemicals in your cleaners. Make sure your oven is turned off and cool before you begin. Wear your rubber gloves and cover any gas burner jets before beginning to remove any food, crumbs, or leftovers from the oven.

Next, remove all of the oven shelves and soak them in soapy water. If you have the time, you may soak them overnight.

While the shelves are soaking, spray and clean the oven’s corners with your oven cleaning and sponge. Allow the solution to sit for a few minutes to soften stubborn stains and oil. Before cleaning and drying the oven racks, use your scourer to ensure they are clean.

Make sure you get inside the oven’s corners, where most people overlook spots and residual stains. If required, use an old toothbrush to clean hard-to-reach places. Keep in mind not to get anything electrical wet! During this time, you may also clean your baking trays by soaking and washing them in a sink of hot water and liquid detergent.

The final step is to clean the glass door of your oven.

Again, a scourer can be used to remove stubborn food and oil. Wipe off completely, being careful not to leave any cleaning chemical residue behind.

Making Use of the Self-Cleaning Function

While cleaning your oven using your hands and getting into corners will provide a thorough clean, some people choose to use the self-cleaning option of their oven for comfort and ease. The intense heat of the oven is used in this approach to incinerate residual food particles and oil. Keep in mind that, even if your oven is labeled as self-cleaning, we recommend removing and wiping off as much grease and food as possible before beginning the self-cleaning option.

You will also need to clear up any ashes that remain after the cleaning. While this is a fantastic choice and handy for many, other people are concerned about the gases it may produce and the possible harm caused by such high heat. In general, you should not leave your house while your self-cleaning oven is running. It’s also vital to keep an eye on it and keep young children and pets away from the oven while it’s heating up.

Using Alternative Natural Cleaners

Unlike chemical cleaners (which contain lye and caustic chemicals), homemade or alternative cleaners are far safer to use in your oven, as well as in and around your kitchen and house. It is ideal if you avoid using chemical off-the-shelf cleansers as much as possible because they emit fumes that are damaging to our lungs and health. Use natural cleaning solutions that perform equally as well, such as baking soda, lemon juice, vinegar, and natural soaps, instead.

Keeping it Clean

To make cleaning your oven much easier, try to clean up a bit after each use and avoid allowing messes to accumulate for too long. When stubborn stains emerge, you can use baking soda overnight to remove them. Wipe off the glass screen of your oven after a heavy cooking session, and cover the bottom oven shelf with foil ahead of time to catch any food that falls. Consider using cooking bags to roast meat so that less fat and oil accumulates in your oven on a regular basis.

While it is easy to put off cleaning your oven, maybe this acts as a reminder to do so if you haven’t done so in a while.

Remember to leave your windows open when cleaning, regardless of whatever cleaner you use, to ensure that the space is adequately aired. If you utilize the self-cleaning function, ensure no dogs are around. If you are unclear which procedure to employ or would like to have someone else clean your oven, consider having it professionally cleaned.

It not only saves you time, but it also provides a complete cleaning that is both safe and efficient. Contact us at Dial Cleaning Services today for additional cleaning ideas and information on house and office cleaning.

Contact us today for professional help

Call Us: 514.629.0841

Address: Montreal, Quebec, Canada

Mail Us: info@dialcleaningservices.com

READ MORE
basin, sink, kitchen sink
Blog
By Fin Dittimi April 27, 2021

5 tips for cleaning a kitchen

A kitchen is where you must pay special attention to cleaning since it is here where the food you and your family will eat is prepared.
Today we recommend some ideas that can serve as a guide always to keep your cleaning a kitchen
  1. A natural and effective way to clean your kitchen work surfaces is to use a damp sponge with water and a little vinegar or baking soda.
  2. To clean the stove and oven, you can also use a damp sponge with water and baking soda and add a few drops of lemon. Remove excess with a damp cloth or towel, then dry with a clean cloth.
  3. Empty the refrigerator and freezer, preferably once a month, check that the expiration dates of the products you have not passed. To clean it, go from top to bottom, scrubbing and removing stains using soapy water, then dry well with a cloth. Don’t also forget to clean the drawers, compartments, and the outside of the refrigerator.
    One tip to eliminate foul odors is always to have a small box of baking soda open in a space in the refrigerator where it is out of the way. Another option is to place an open jar with fresh ground coffee beans or a sprig of vanilla in one of the top corners.
  4. To wash your dishwasher, remove the filter, clean it with a damp cloth, and remove any remaining soap or food. Then put a splash of vinegar water in the soap container and put your dishwasher to work without dishes. Remember to change the filter periodically.
  5. The tip for cleaning the microwave is to put water with the juice of a lemon in a container; put this mixture to heat in the microwave for 3 minutes. That is an easy way to remove odors and remove grime with a clean cloth.

Read More: SPRING CLEANING: 25 VERY USEFUL TRICKS, YOU CAN DO STEP BY STEP

Related Article: Top 10 Keys To Having A Clean And Tidy House “Without Killing Yourself”

READ MORE
  • 1
  • 2
Featured author image: Easy Steps To Clean Your Fridge

Faith Ileh

Hi! I am an author of this blog. Read Our Post

Recent Posts
  • The Best Carpet Cleaning Services in Montreal
    The Best Carpet Cleaning Services in Montreal
    August 14, 2023
  • Experience the Pinnacle of Cleanliness with Dial Cleaning Service
    Experience the Pinnacle of Cleanliness with Dial Cleaning Service
    August 13, 2023
  • Conquer Dusty Corners Like a Pro! ✨🌿
    Conquer Dusty Corners Like a Pro! ✨🌿
    May 31, 2023
dial 2D

Request A Callback

Quick Links

Menu
  • Our Blog
  • Deep Cleaning
  • Montréal
  • Commercial
  • Residential
  • Privacy Policy
  • FAQ

Get In Touch

514.629.0841

  • Business Hours:
  • 8:00 AM – 6:00 PM
  • 7 Days a Week
Copyright © 2026 Dialcleaningservices | design by fandfconsultancy